Repairing the Port Quarter 2013
December 2012-January 2013
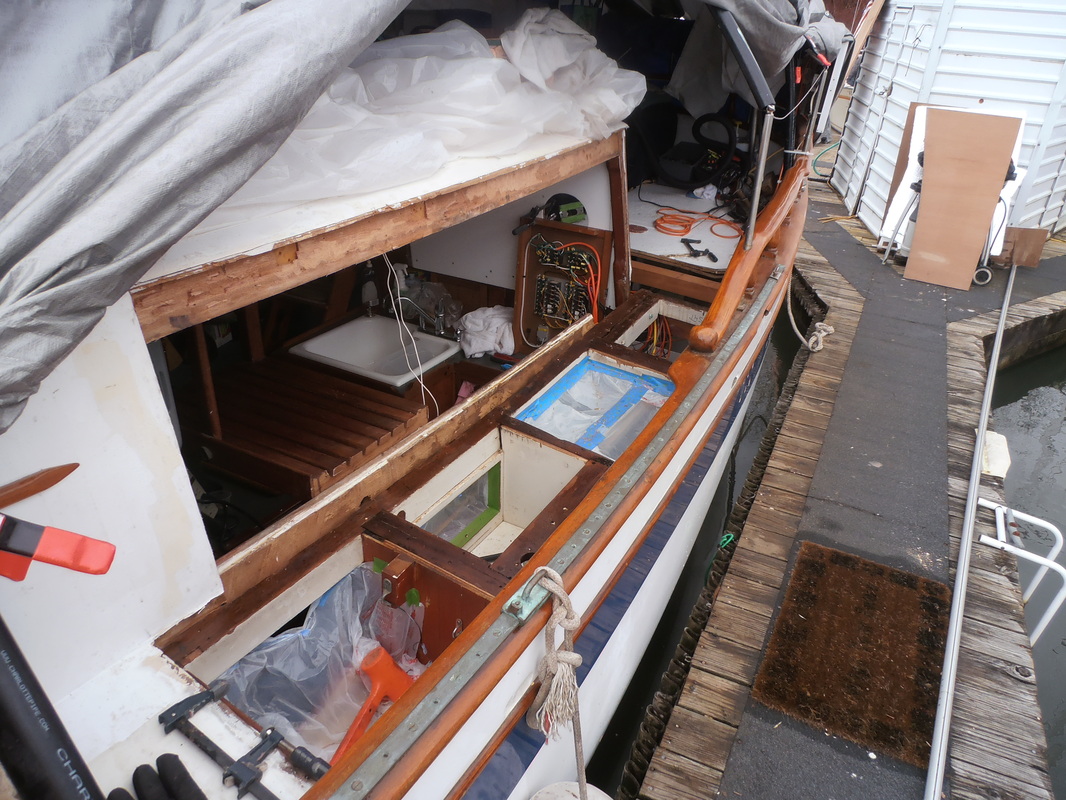
Okay, the front half of the boat has been rebuilt, the gaping holes from the starboard and stern cabin have been repaired, now it's time to address the Port side of the boat.
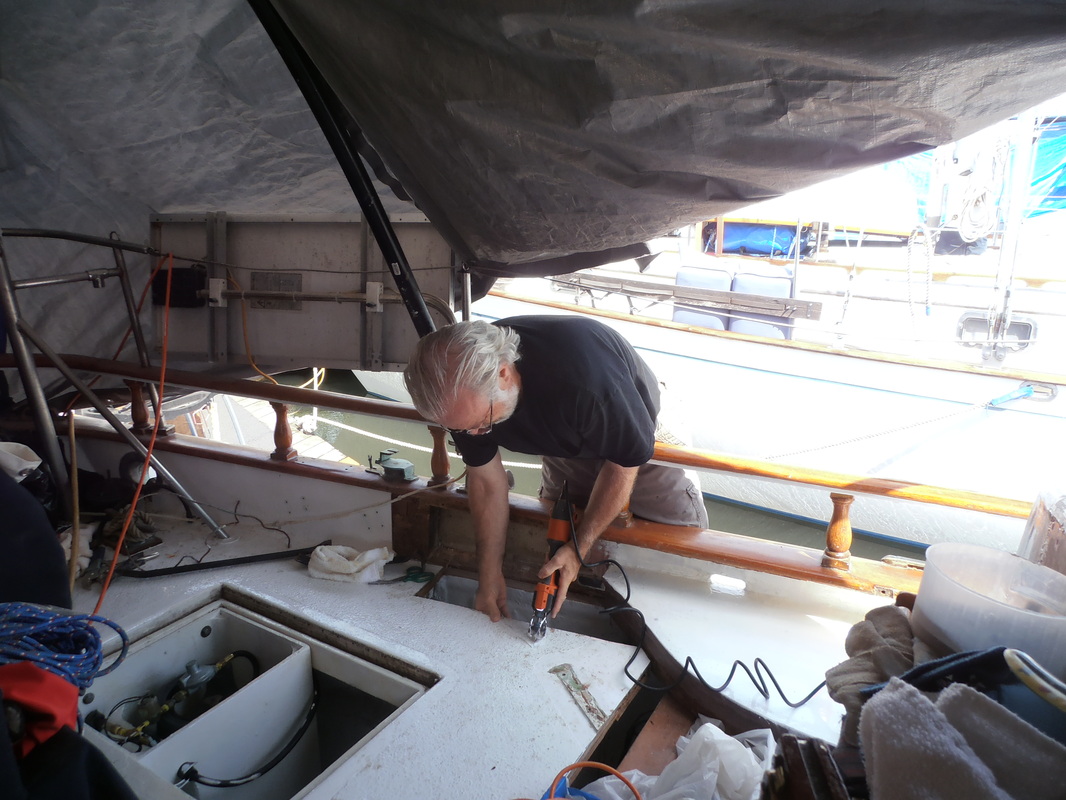
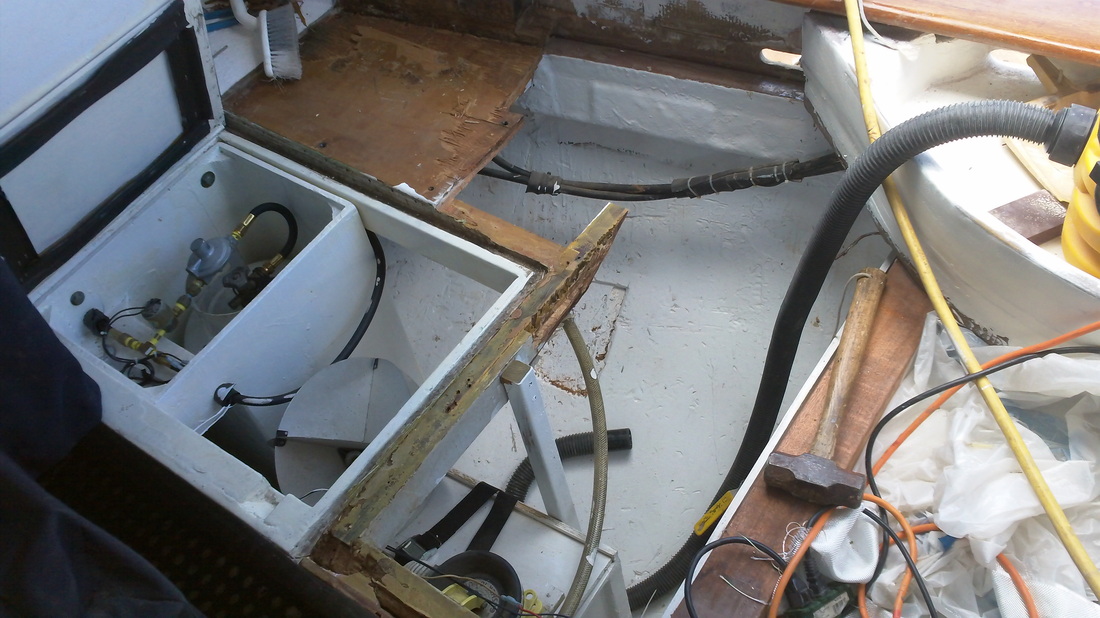
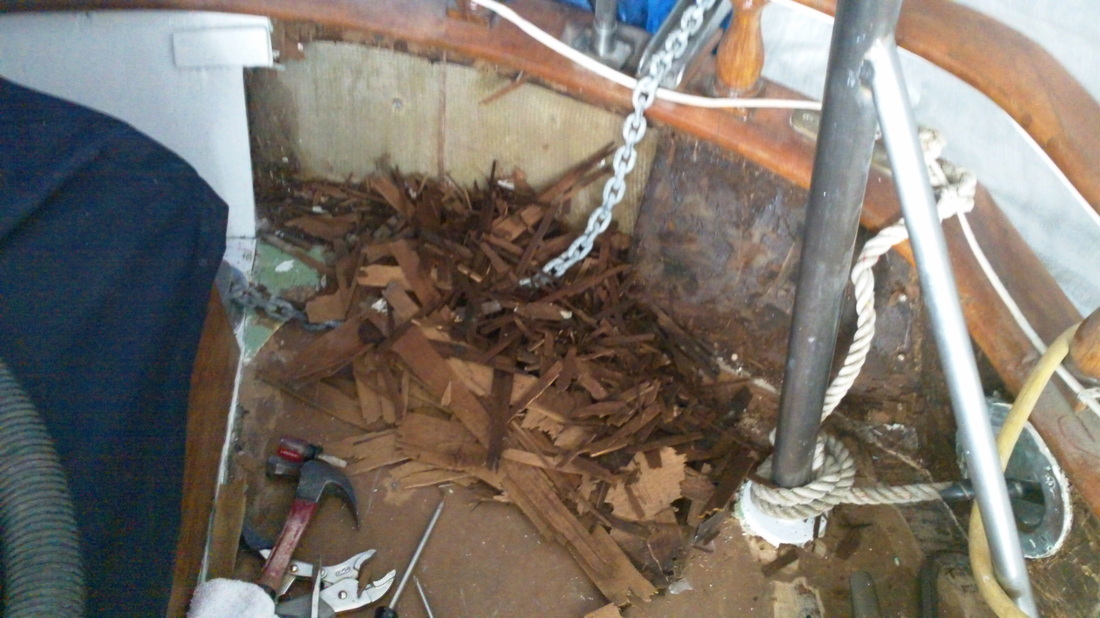
First, we remove the rotting sections of deck, repair the frames with rot in them, and rebuild it all so it doesn't rot again. Ever.
First, we remove the rotting sections of deck, repair the frames with rot in them, and rebuild it all so it doesn't rot again. Ever.
Clear the deck!
Perhaps there is solace, when working in cold weather, that working hard helps keep you warm.
Or... maybe not.
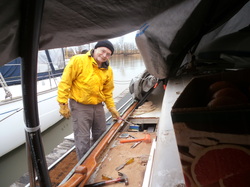
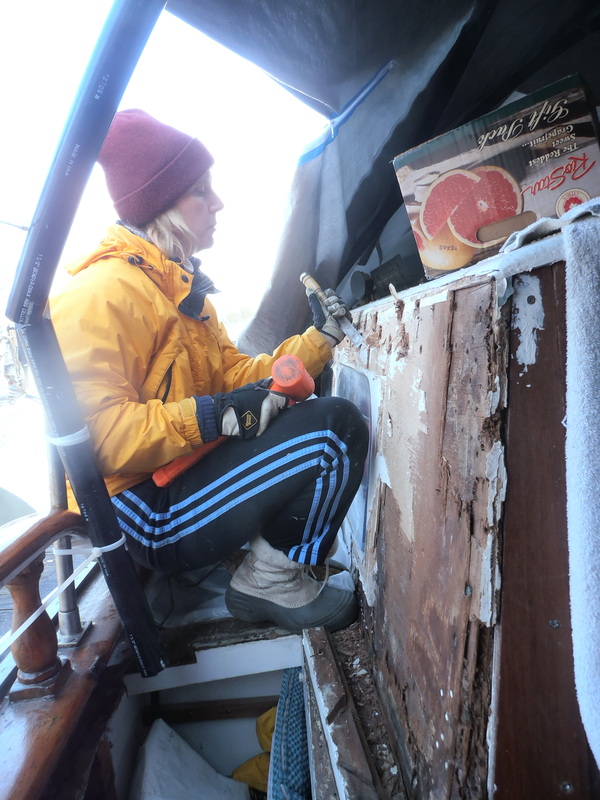
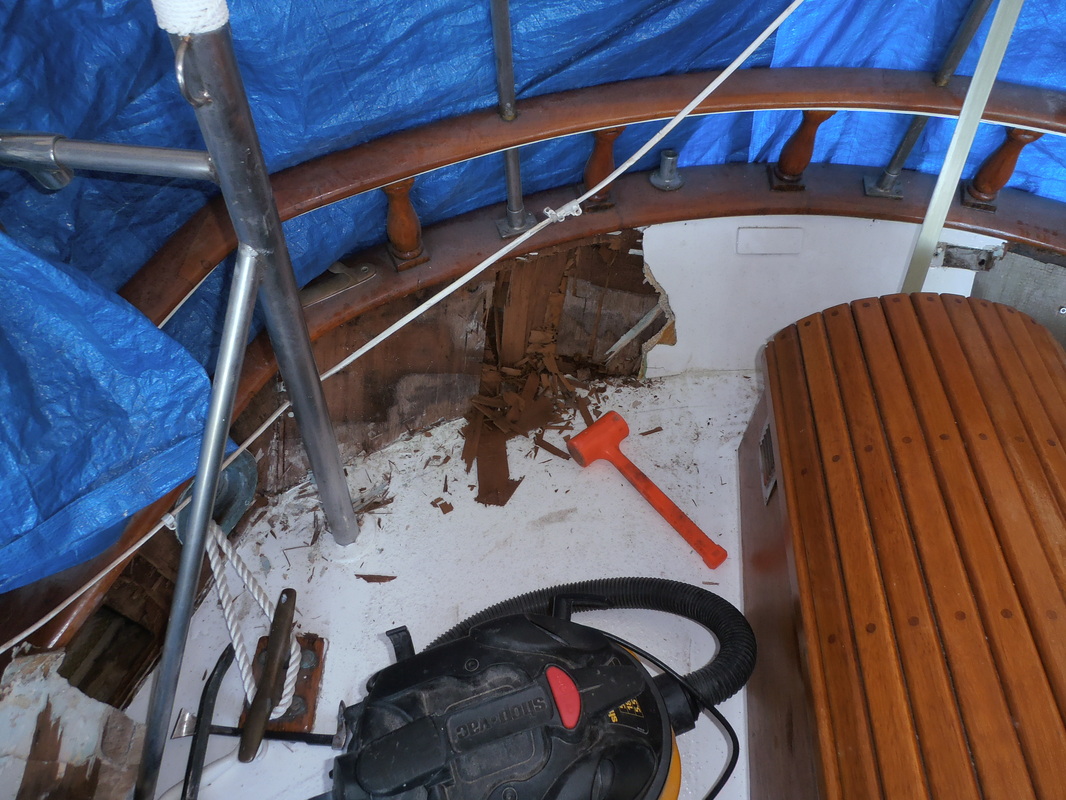
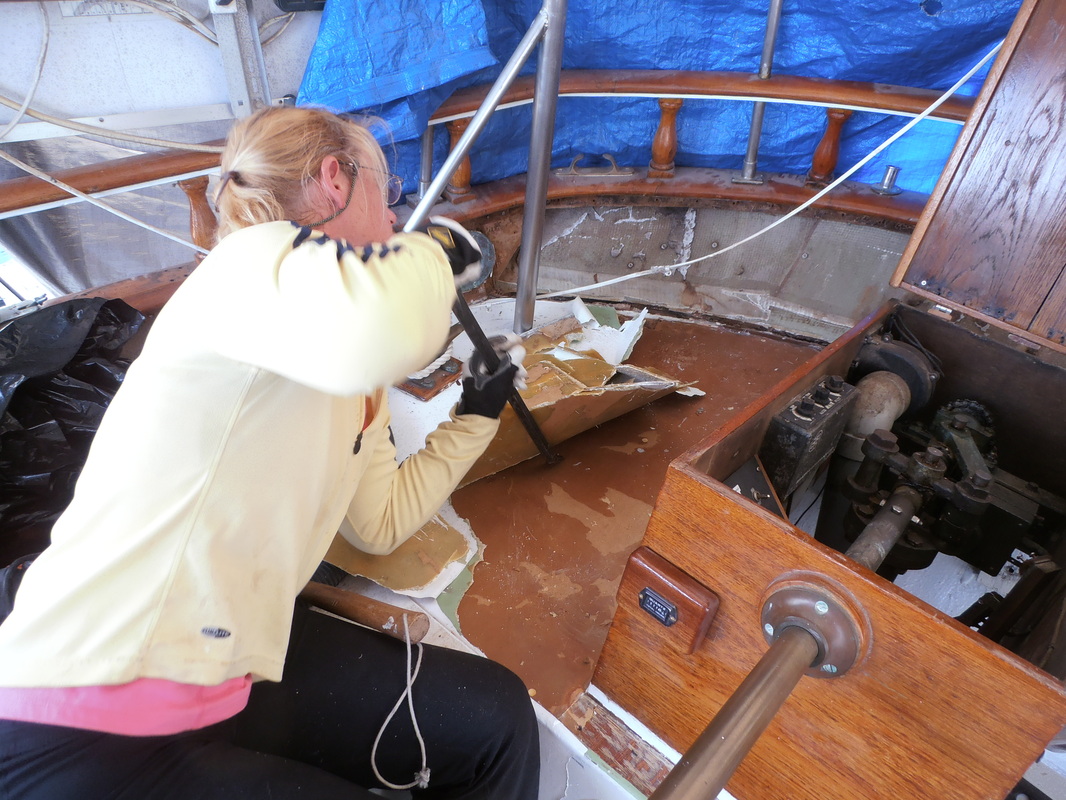
Gabs is seen here, laboring in the twilight, trying to get rotten planking to break free on the port side deck.
It's an interesting phenomenon that when trying to remove wood from a boat, it either comes out by the handful, or it doesn't want to come off at all.
Or... maybe not.
Gabs is seen here, laboring in the twilight, trying to get rotten planking to break free on the port side deck.
It's an interesting phenomenon that when trying to remove wood from a boat, it either comes out by the handful, or it doesn't want to come off at all.
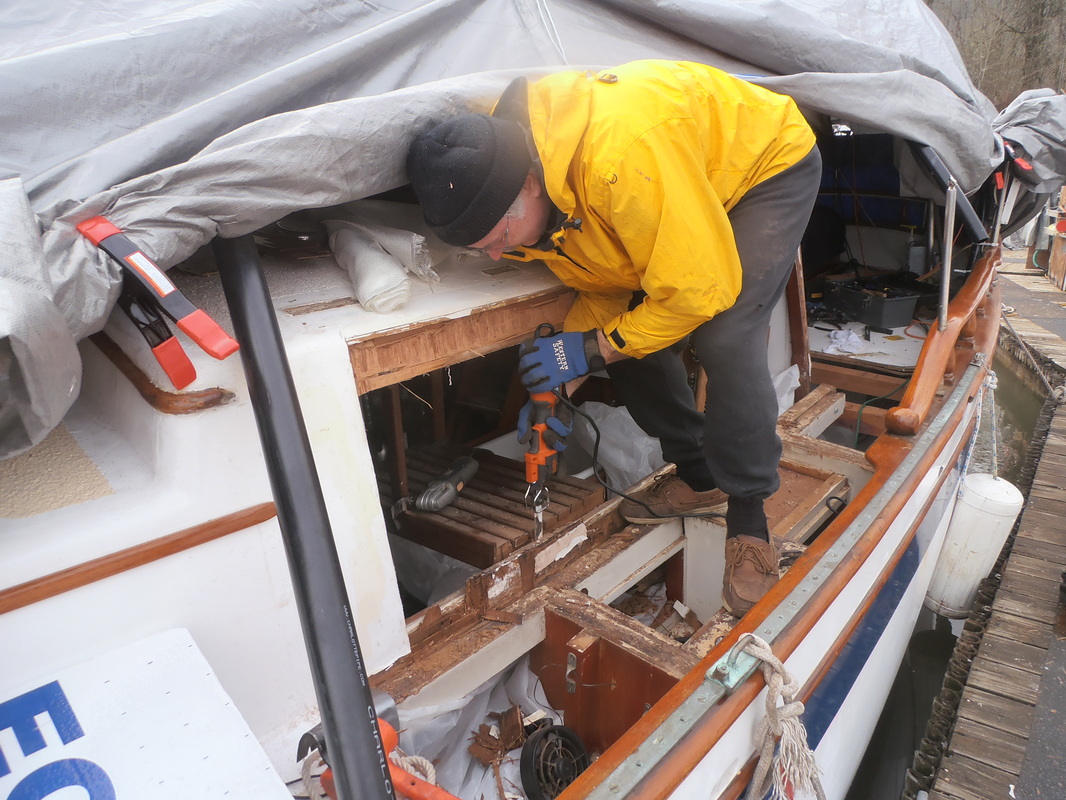
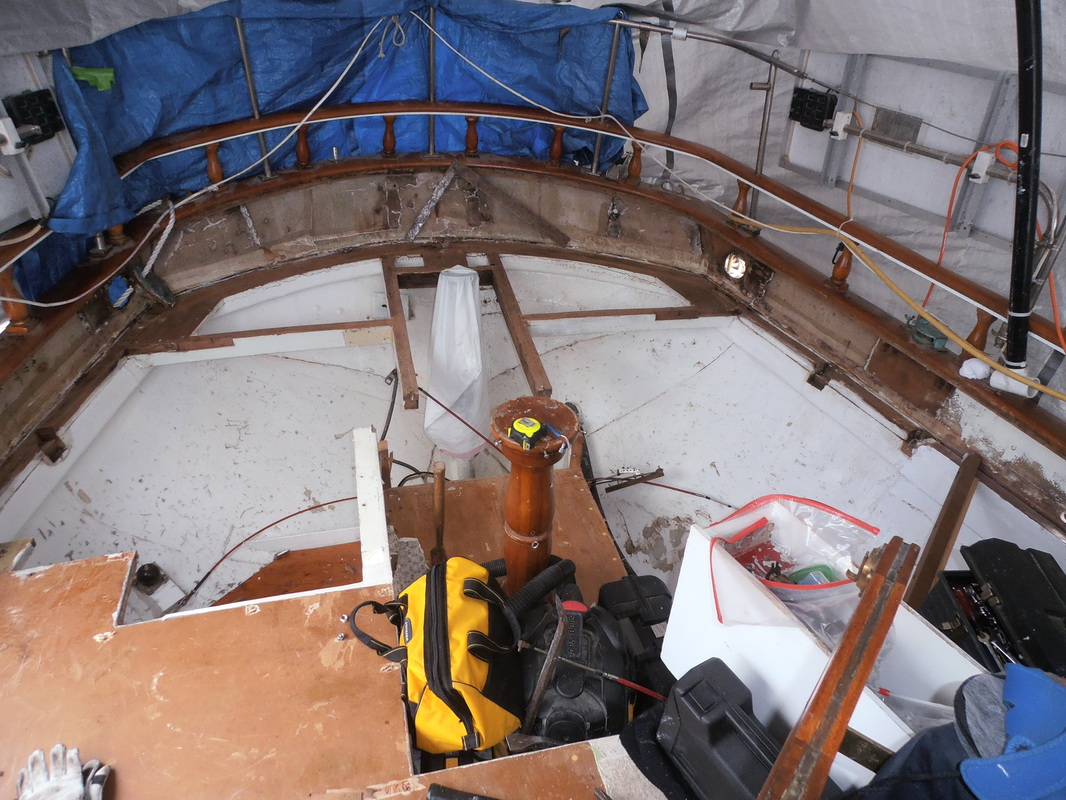
Cabin, Deck... all of it!
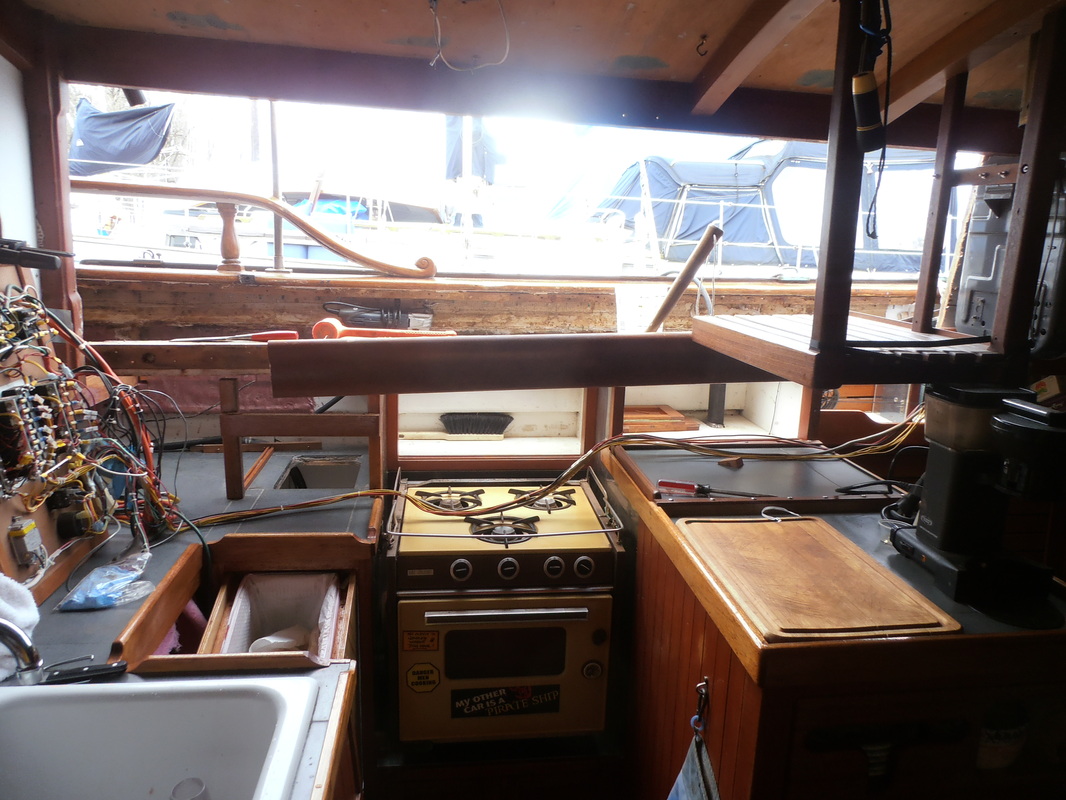
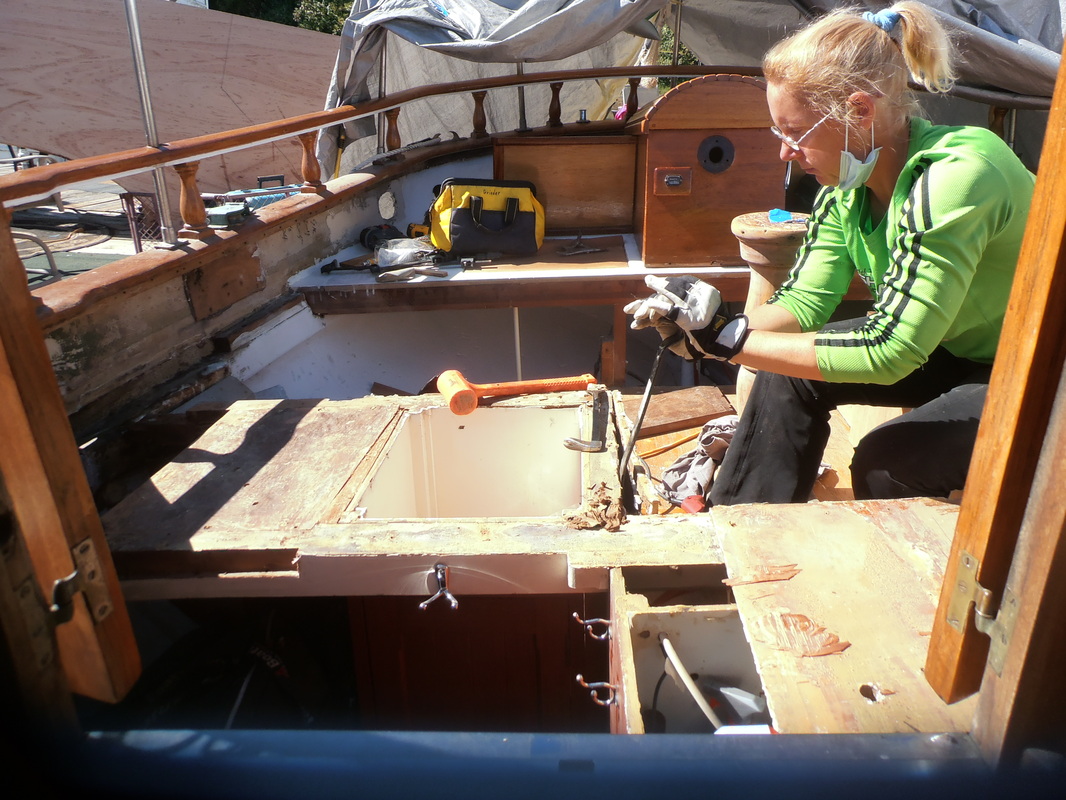
Tearing up the rot on the port side was particularly hard on Gabrielle, because it entailed dismantling the galley we had worked so hard to build 2 years ago.
|
"Deja vu, all over again!"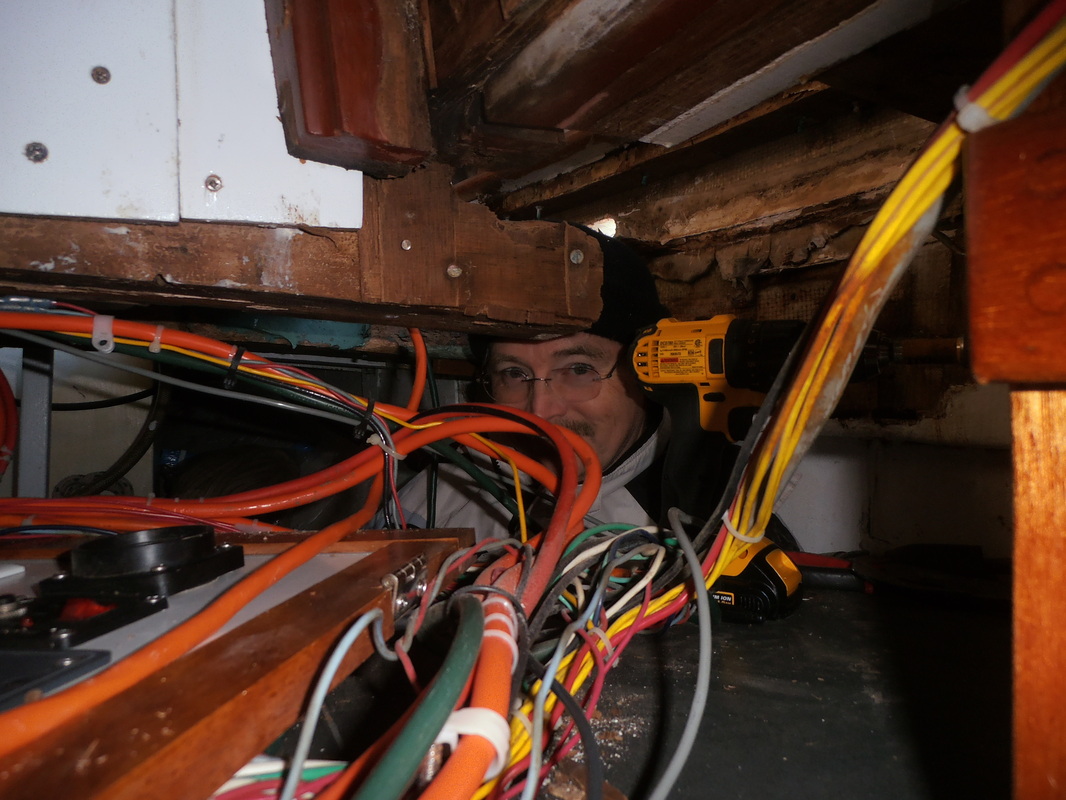
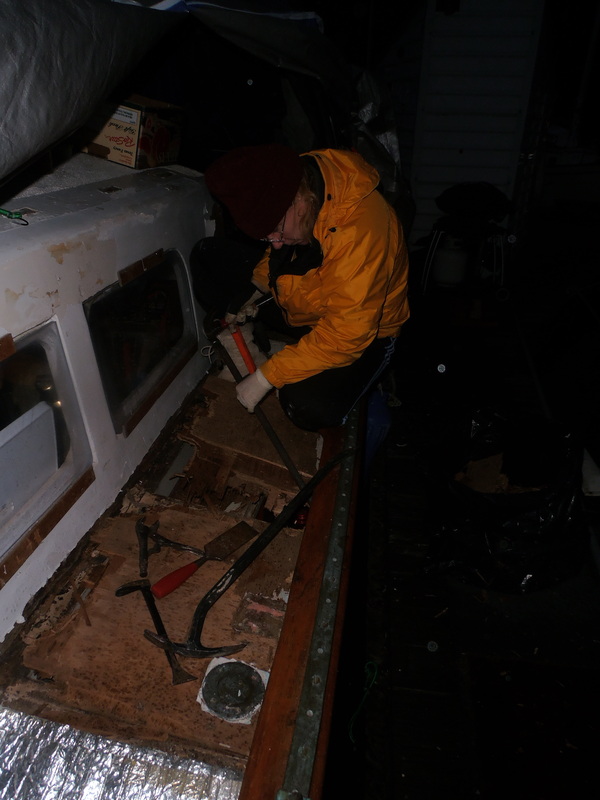
It also meant moving and rewiring the electrical panel Michael had built 4 years earlier. Shocking!
|
Starboard side, no Port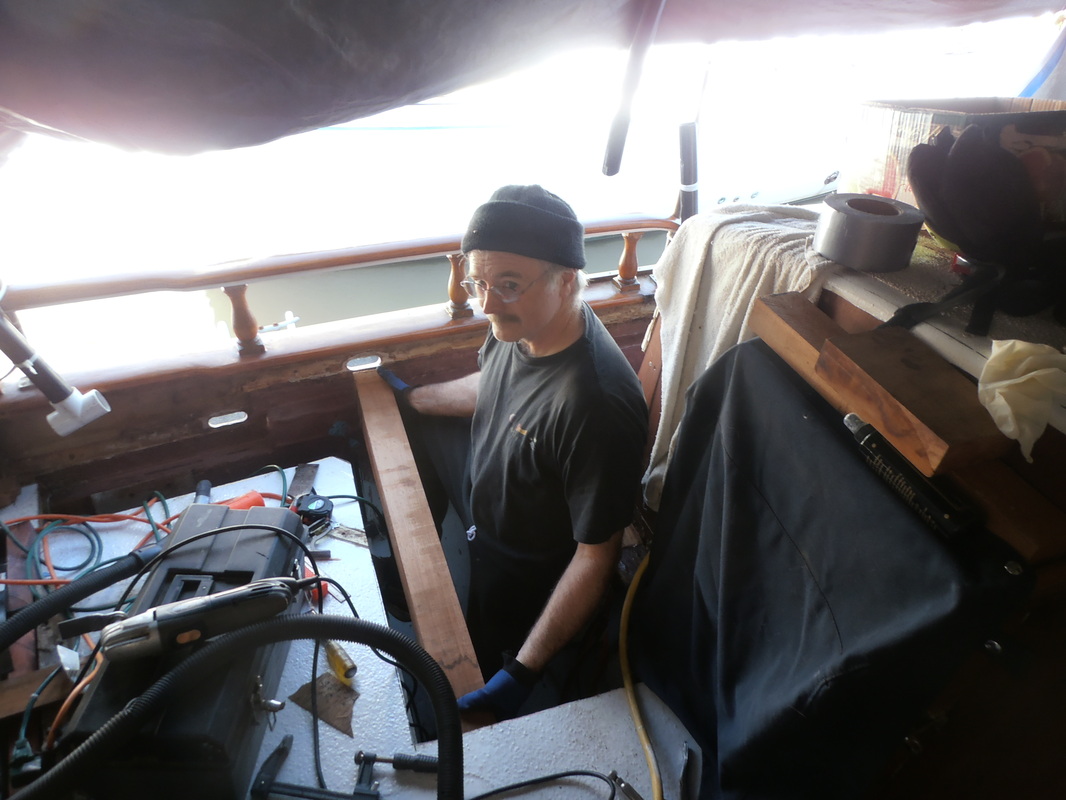
First, replace the rotten frames

4. Frames & wiring lined up
|
1. Painfully remove 40 year old screws
5. Painting done below decks
|
2. Cut out whatever doesn't fall out, but DON'T cut through any wires!
6. New wall in place
|
3. Behold! Wide open spaces!
7. Electrical panel reinstalled.
8. Begin process of enclosing portside deck.
|
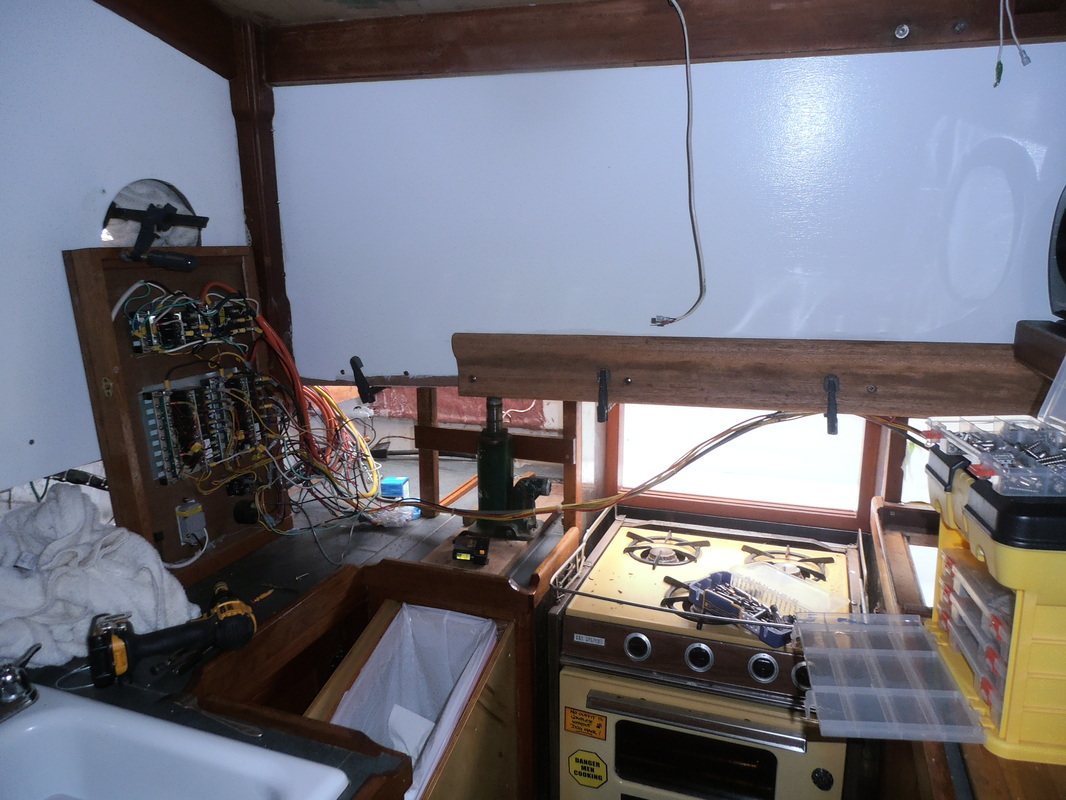
March 28, 2013
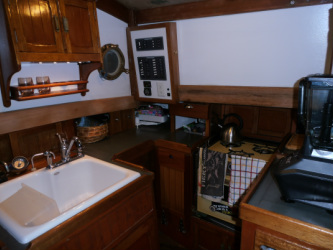
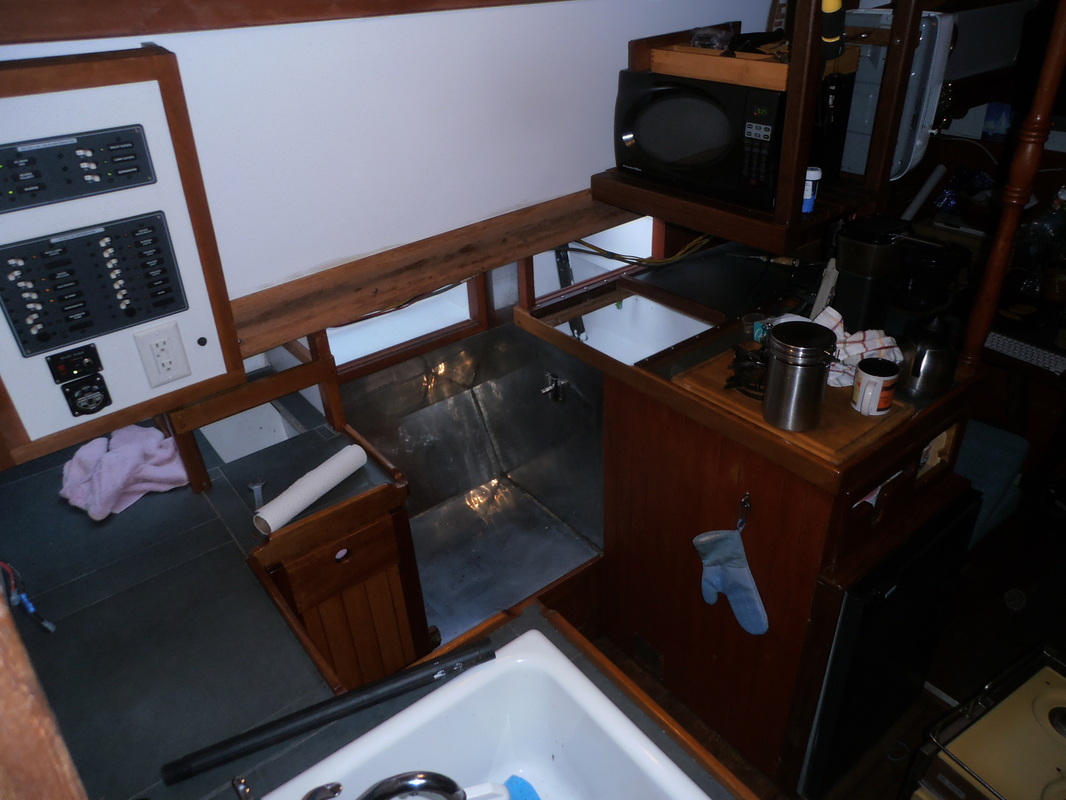
After three months of extensive (and expensive) labor, the galley of Moontide once again appears intact. Now if only the fiberglass deck would put itself on!
Spring, 2013
Here is a summary of cabin repair done by the end of May, 2013:
Starboard Side:
Last Summer,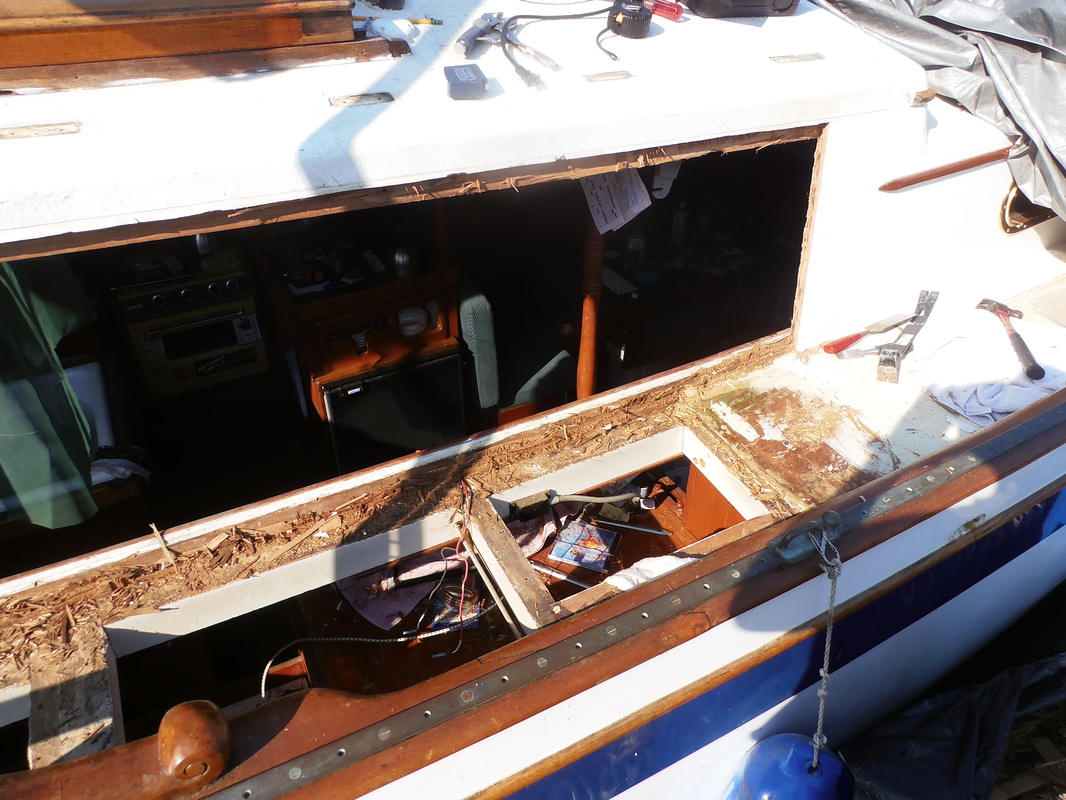
Rot was found both in the starboard deck and cabin wall, so we removed the bad wood and installed new
|
This Fall,
As weather allowed, we prepped the sealed cabin and wall and applied fiberglass and layers of epoxy.
|
Now...
The epoxy has been built up and faired, and is ready for primer paint.
|
Port side:
Autumn,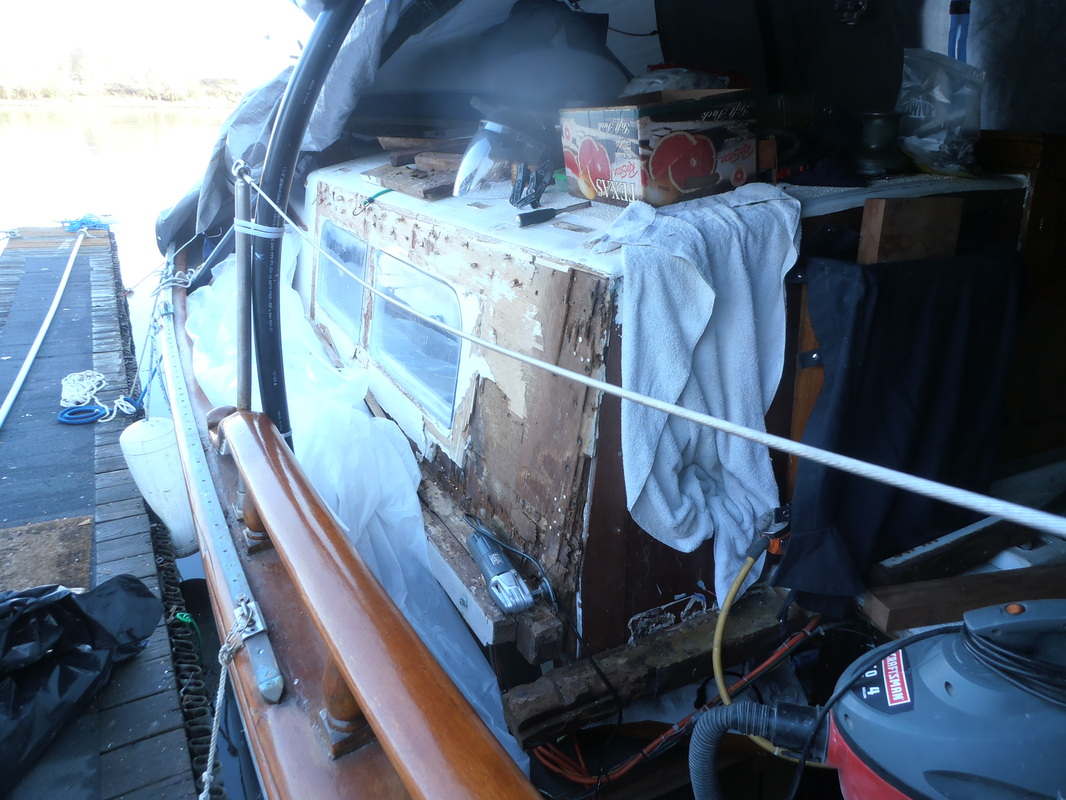
As with the starboard, rot was found on both wall and deck and had to be removed.
|
Winter,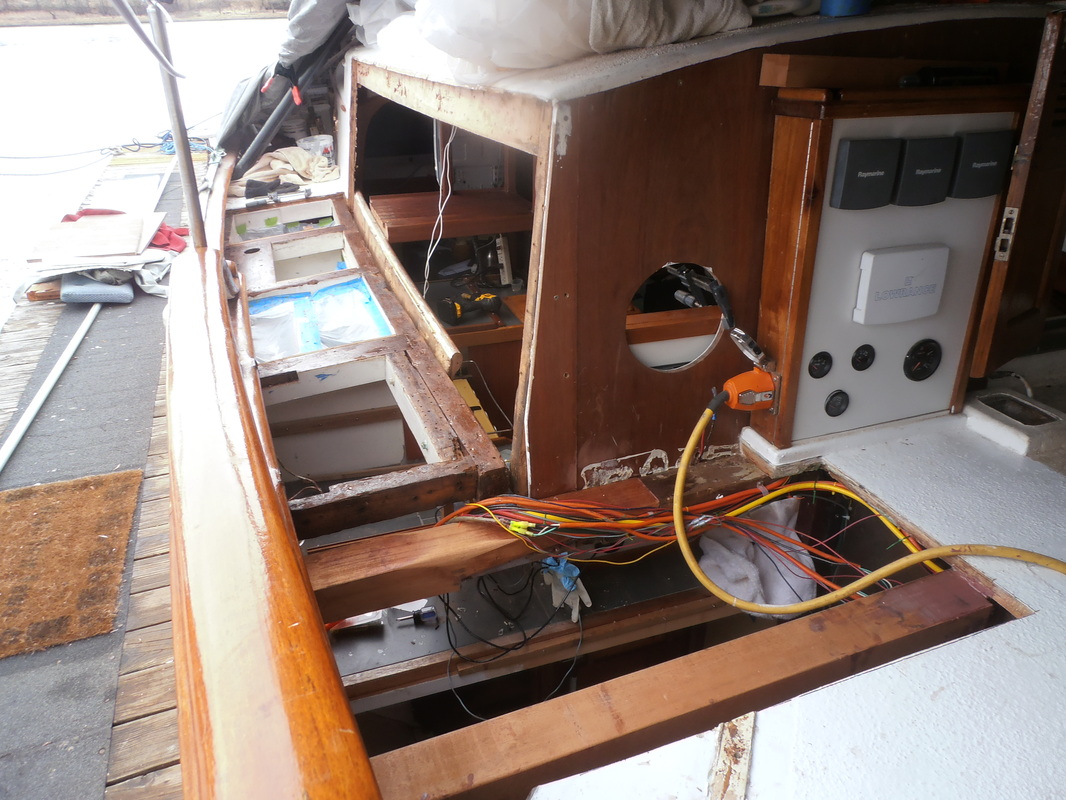
While the space was opened, we painted and sealed hard-to-access areas
|
Late Winter,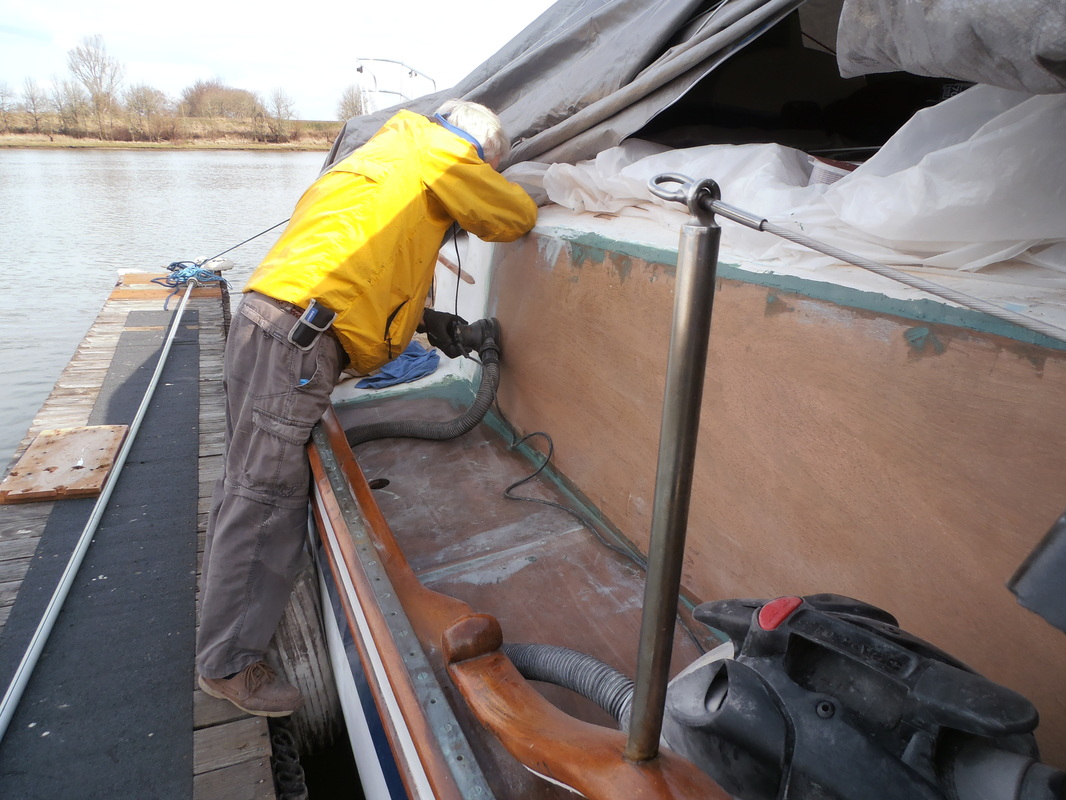
By early March, we had deck and wall screwed and glued into place. Much cozier inside now!
|
May...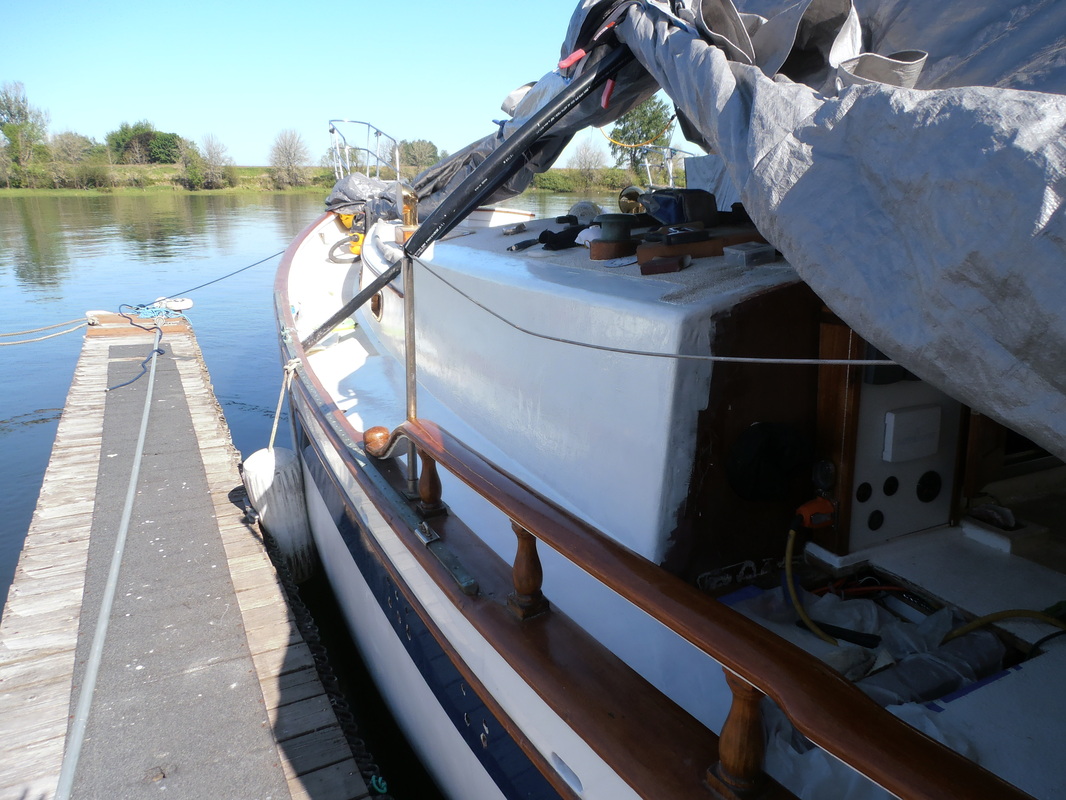
With fiberglass and about 6 layers of epoxy on, the Port side is just now taking shape.
|
Summer, 2013
June is busting out all over!
We thought it was almost over. Just a little piece that needed replacing on the quarter deck.
Michael & Gabrielle began cutting out rot...
Michael & Gabrielle began cutting out rot...
And kept cutting...
On both sides
|

Slowly moving aft...
Under the fiberglass,
|
Clear back to the transom.
we removed all the rotten wood, including another transverse frame
|
On the bright side,
This is the "back of the boat." We've removed all of Moontide's bad wood, from bow to transom. If we find any more rot now, it's going to have to be on someone else's boat!
Huzzah!
Huzzah!

To do this, we...
Remove another big rotten frame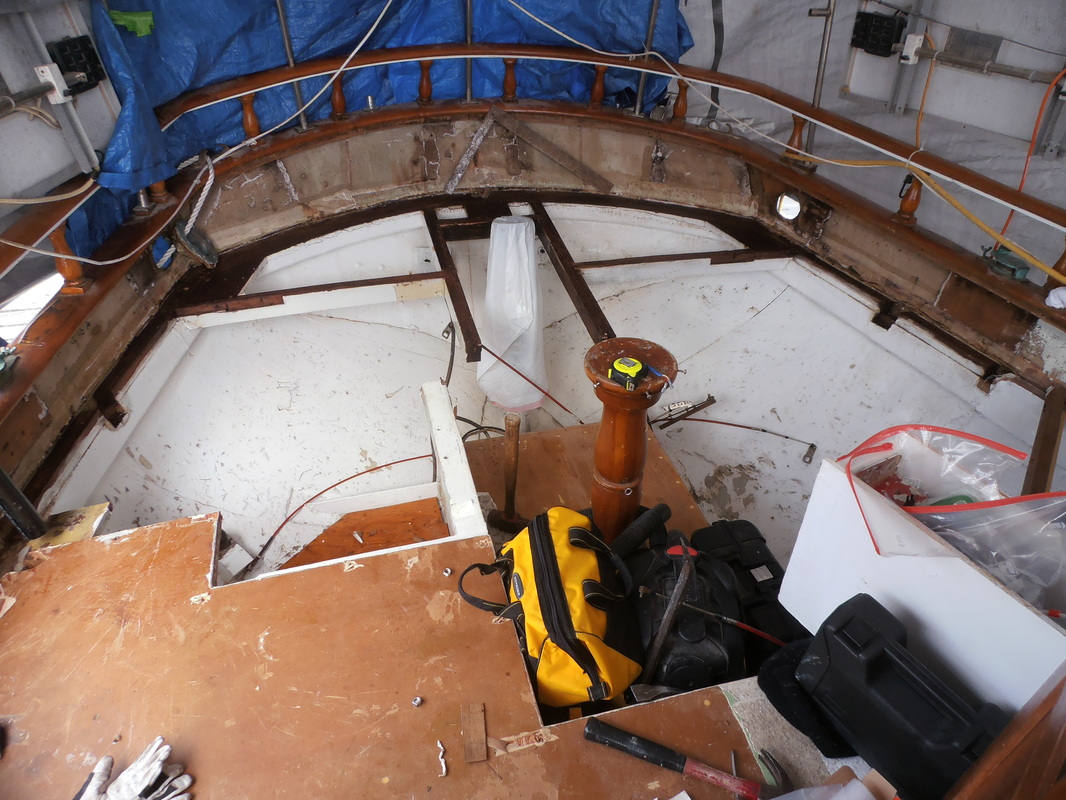
Which opens up the space like this
|
Make a new and improved frame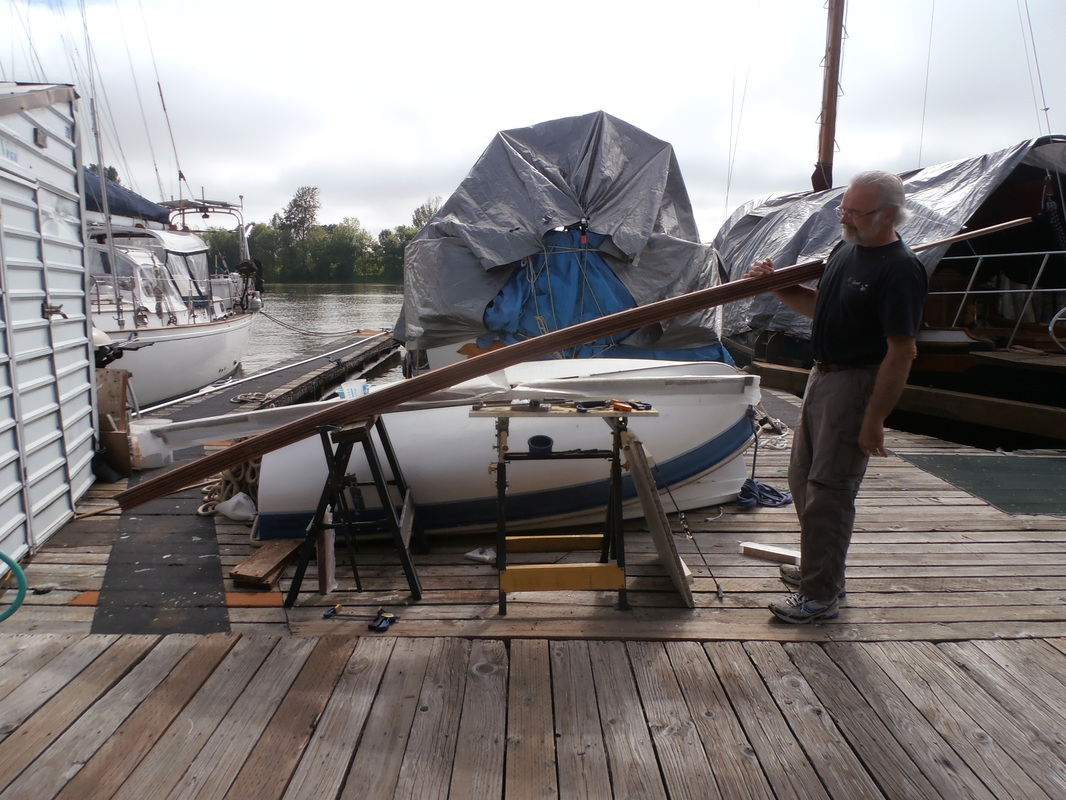
Something like this one.
|
Epoxy up a brand new deck piece
And don't forget the penetrating epoxy!
|
And Presto! A new deck...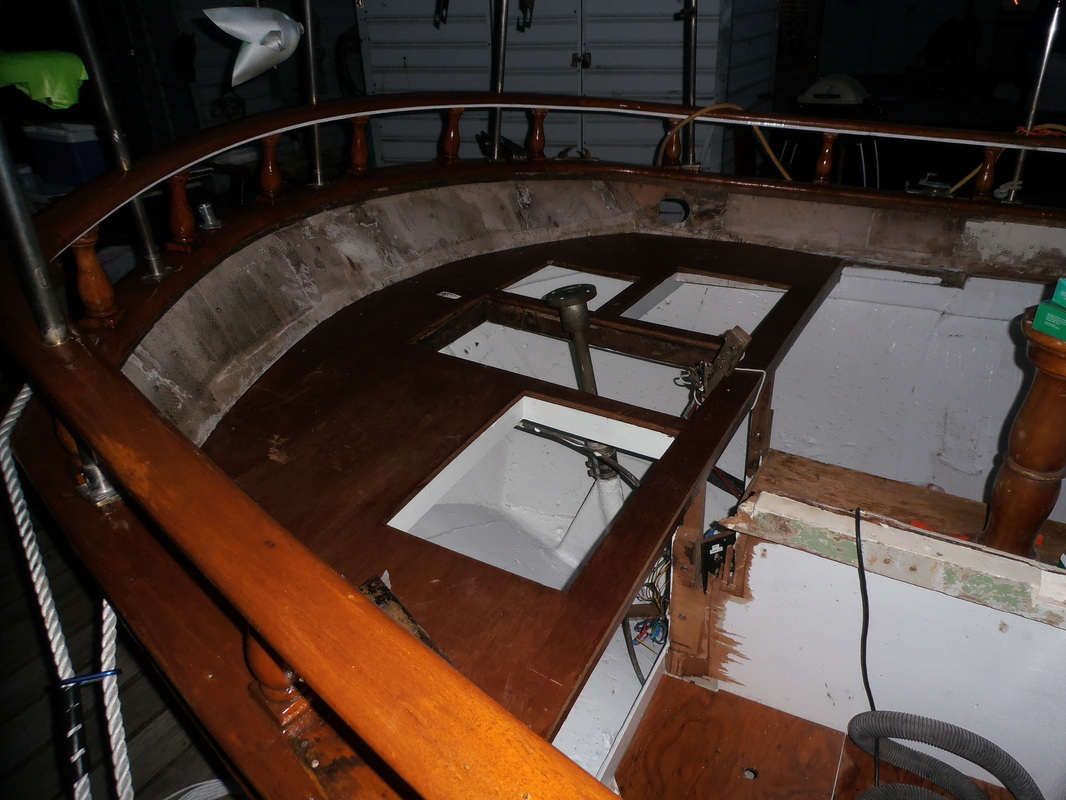
Okay. With a few holes that need filling!
|
But Before we put the deck on...

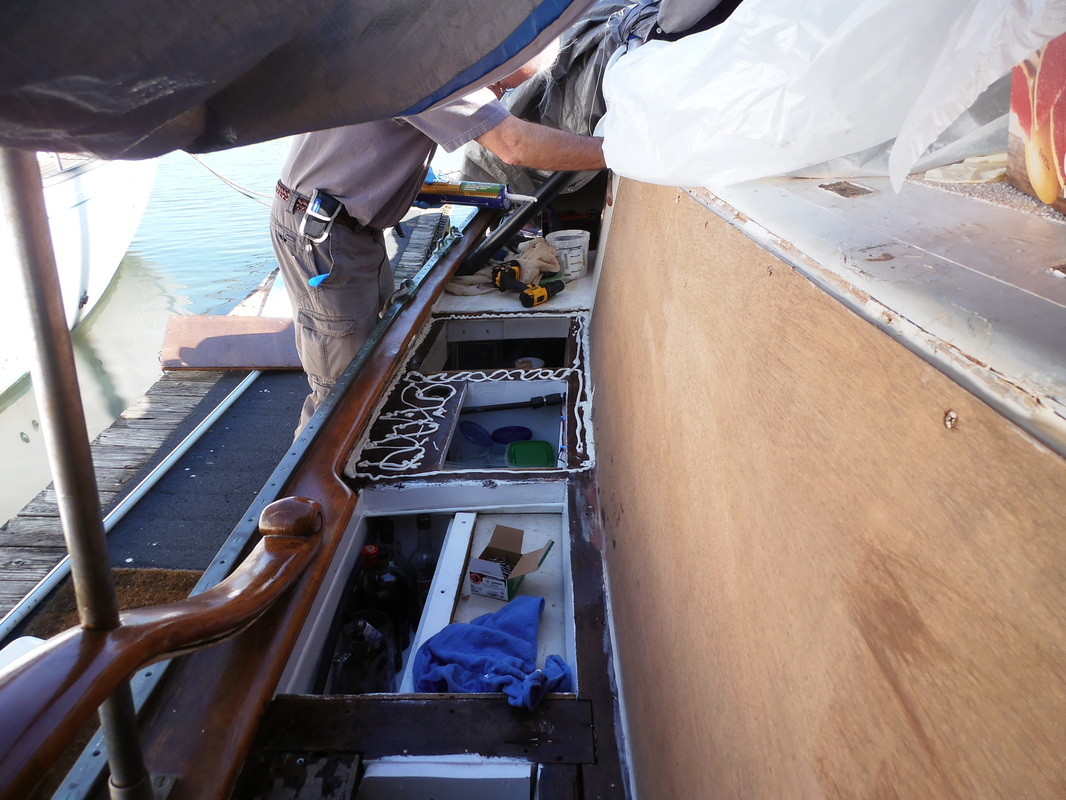
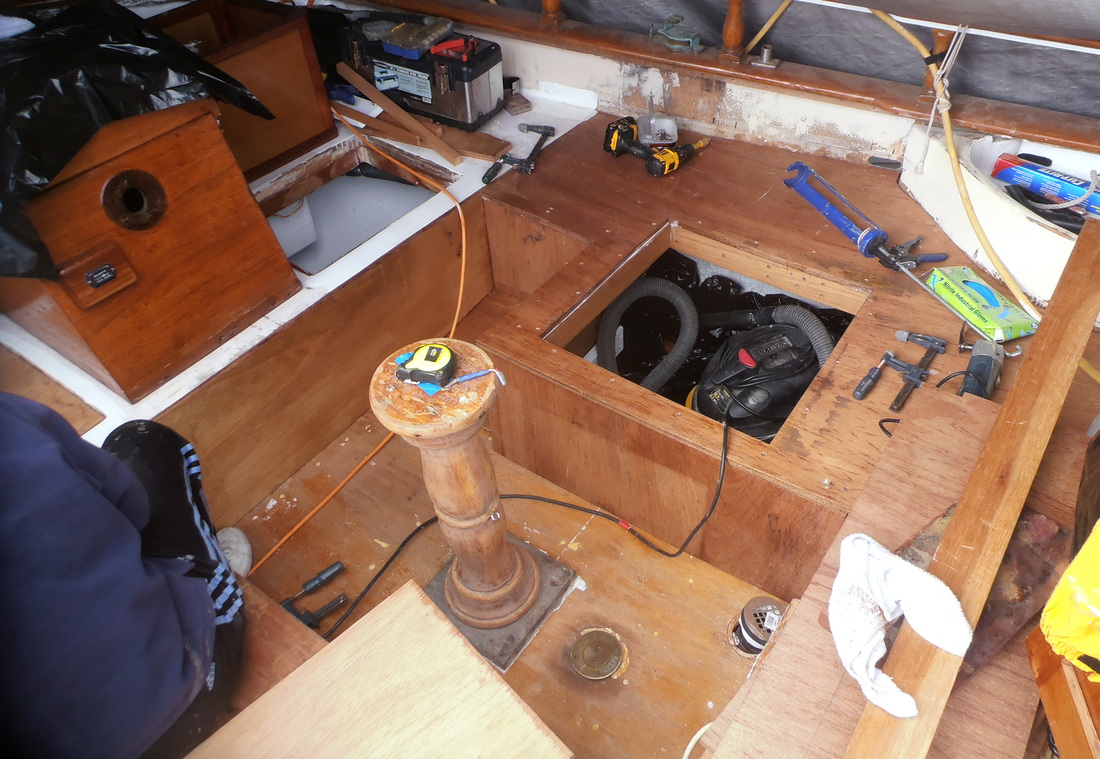
We need to make sure everything below deck is in place and working. For instance, replacing worn exhaust hose, broken engine cable fittings, frayed electrical wires, running the propane lines to the new tank location, and building and installing the sub-deck for the Port side lazarette (left) to name a few.
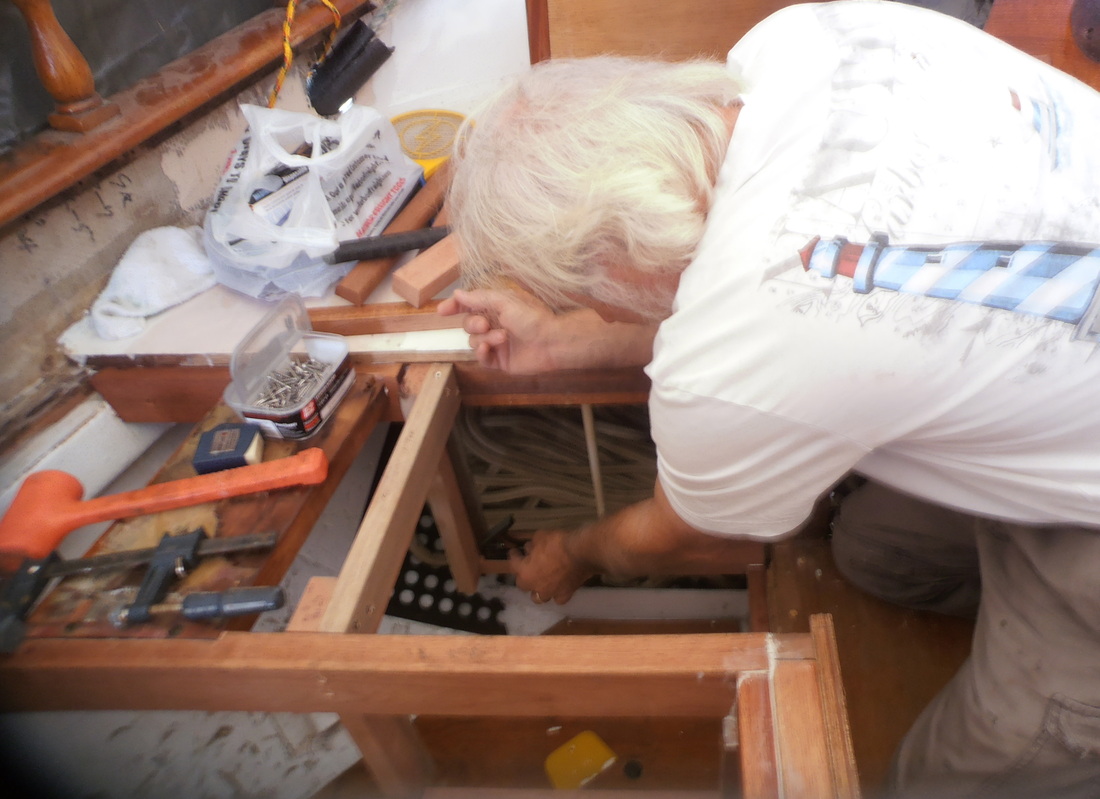
Ridding Moonie of the last of the rotten wood!
|
Closing in the Port-side cockpit, nd making a lazarette door.
|
Wagons Ho!
|
Framing up the 'T'
|
Dry-fitting the steering boxes
|
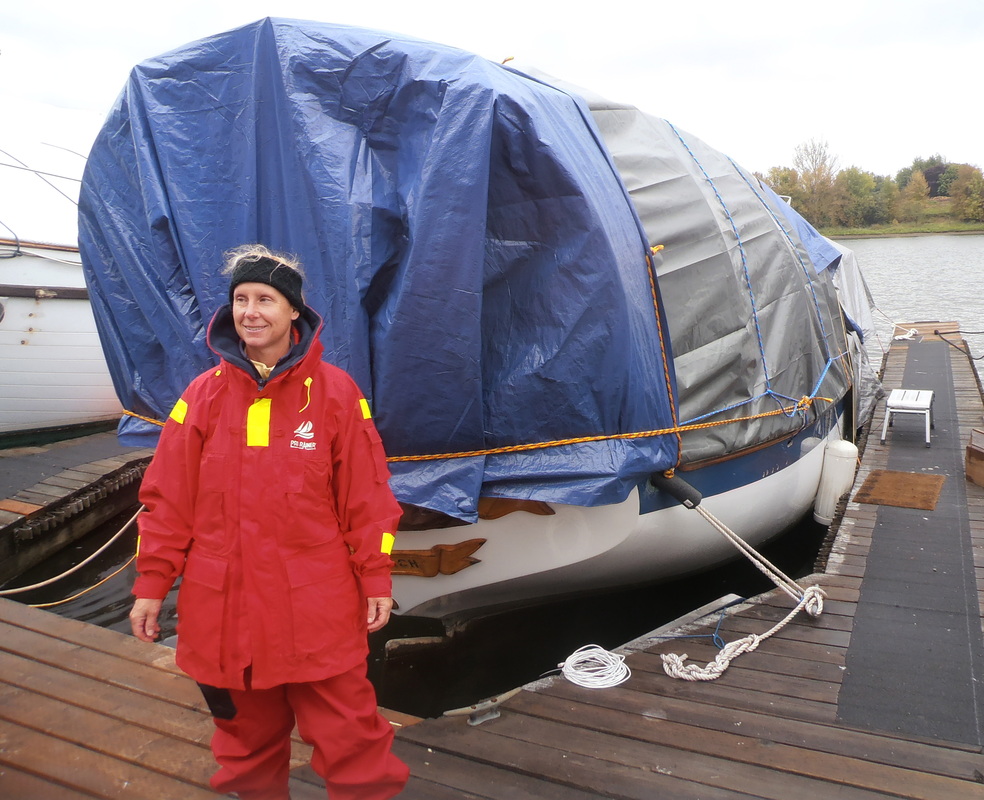
October 2013 Arrives
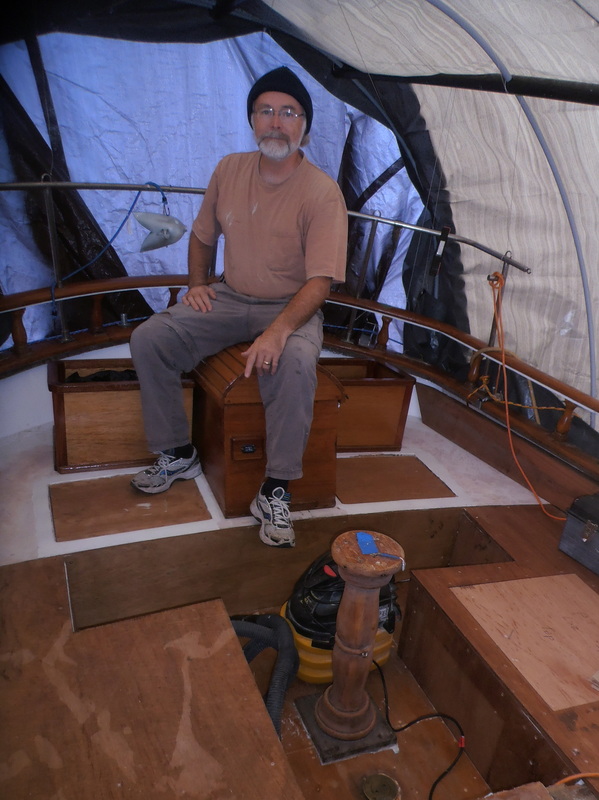
With our new Conestoga wagon Application on, (see Blog) we have space to work on the cockpit area and stay free from the elements.
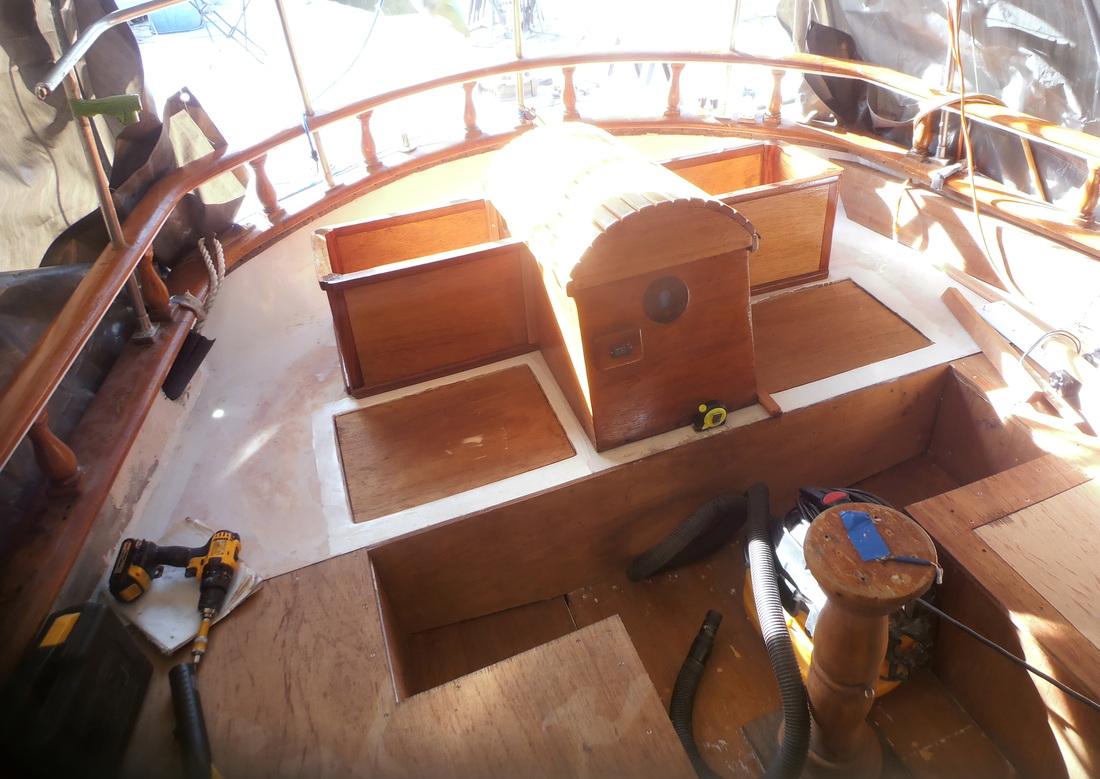
Here we see Michael dry-testing the the 'saddle' wheel box with its new 'saddle bag' seats on.
That, and the new 'T' shaped wheel well that's in place should make steering the boat easier, if not more user-friendly.
As you can see, a great deal of fiberglassing and finish work has yet to be done.
Here we see Michael dry-testing the the 'saddle' wheel box with its new 'saddle bag' seats on.
That, and the new 'T' shaped wheel well that's in place should make steering the boat easier, if not more user-friendly.
As you can see, a great deal of fiberglassing and finish work has yet to be done.
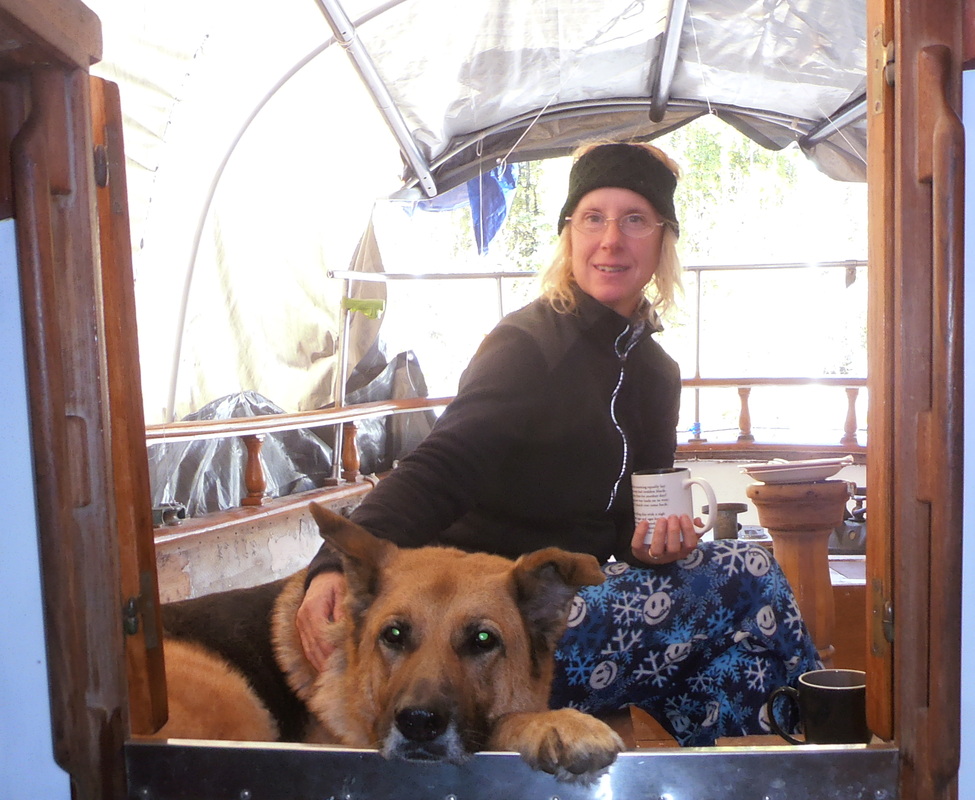
A nice feature of the new 'Conestoga' tarp is that the back panel is retractable in nice weather, which helps when applying nasty, toxic-smelling things like fiberglass fillers and resins. Here we see Gabrielle and Carmen sitting in the new cockpit, both enjoying a morning cup of coffee, and the warmth that sunshine on the tarp provides the whole boat. Heat is also helpful when you want the resin to harden!