2009-2010 The galley seemed a likely place to start updating the boat, so we started there, going...
From beautiful tradition...
Before: Initially, we noted that the Wire panel on the aft cabin wall had corroded, & space around refrigeration had rotted. It was time to do something...
|
To updated adaptation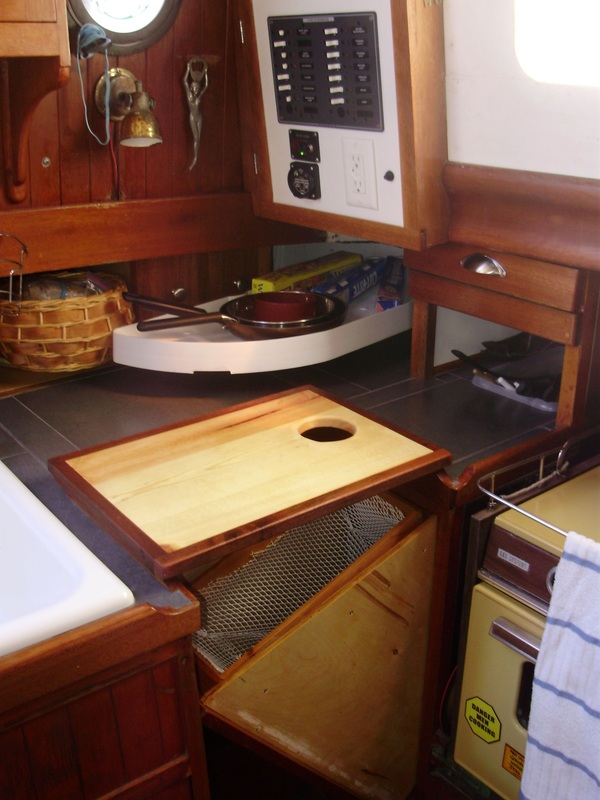
After: The reefer was removed, a new electric panel was built, italian tile & a deep sink installed, & a new trash bin, cutting board, cup- boards, lockable lazy susans, & spice racks were made to fit.
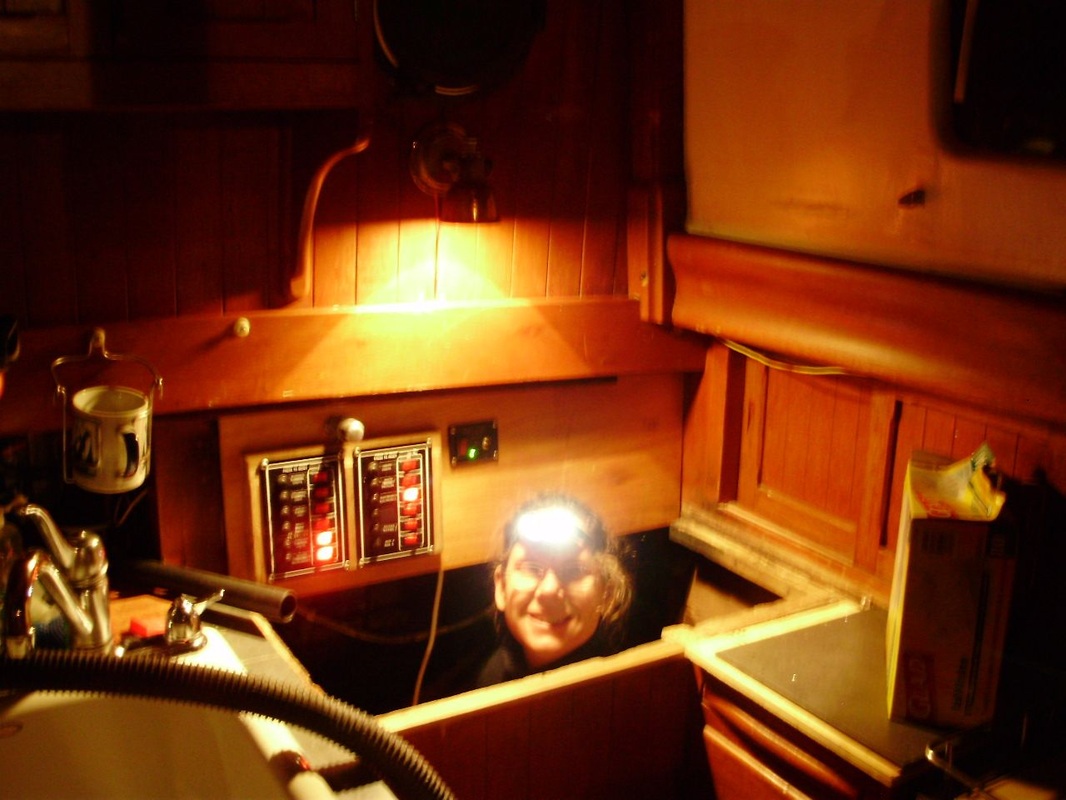
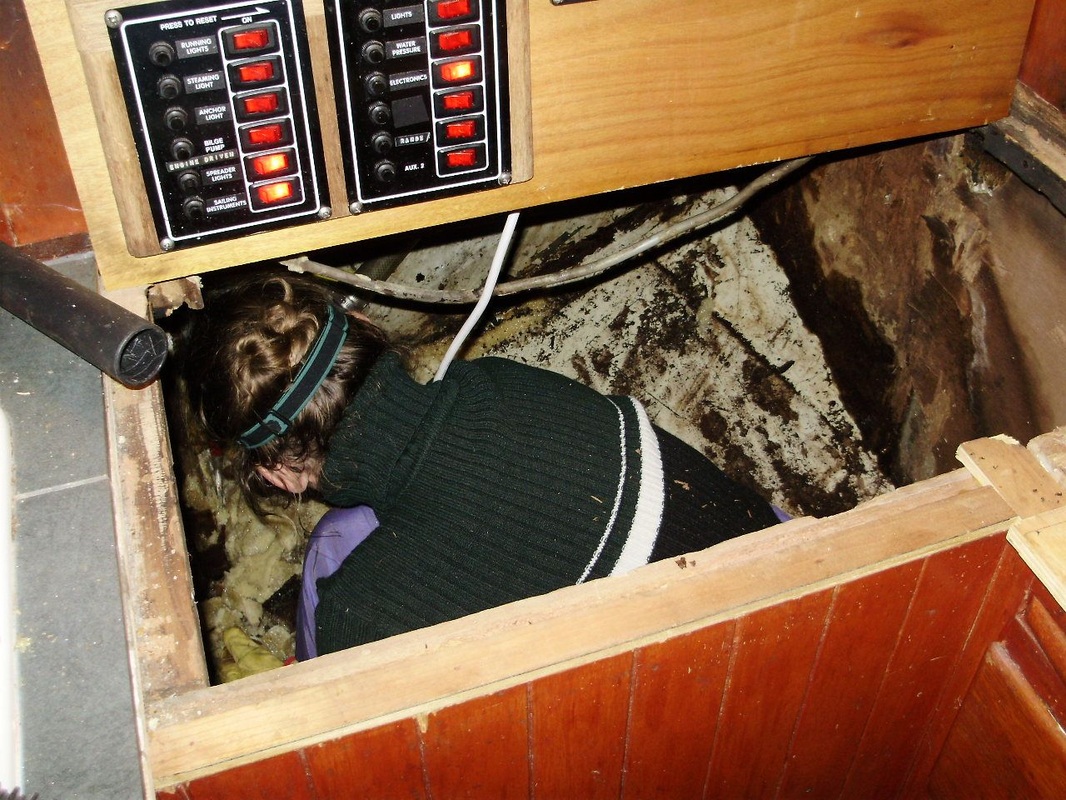
Gabrielle, 'mining' her way through the nasty, soggy, moldy old remnants of the refrigerator/freezer. A leaking external freezer lid had allowed water to accumulate over the years, and the insulation worked like a sponge, holding onto the water. After the steel housing had been cut out, huge globs of water-laden injected foam needed to be pulled from the cavity. She was very brave!
|
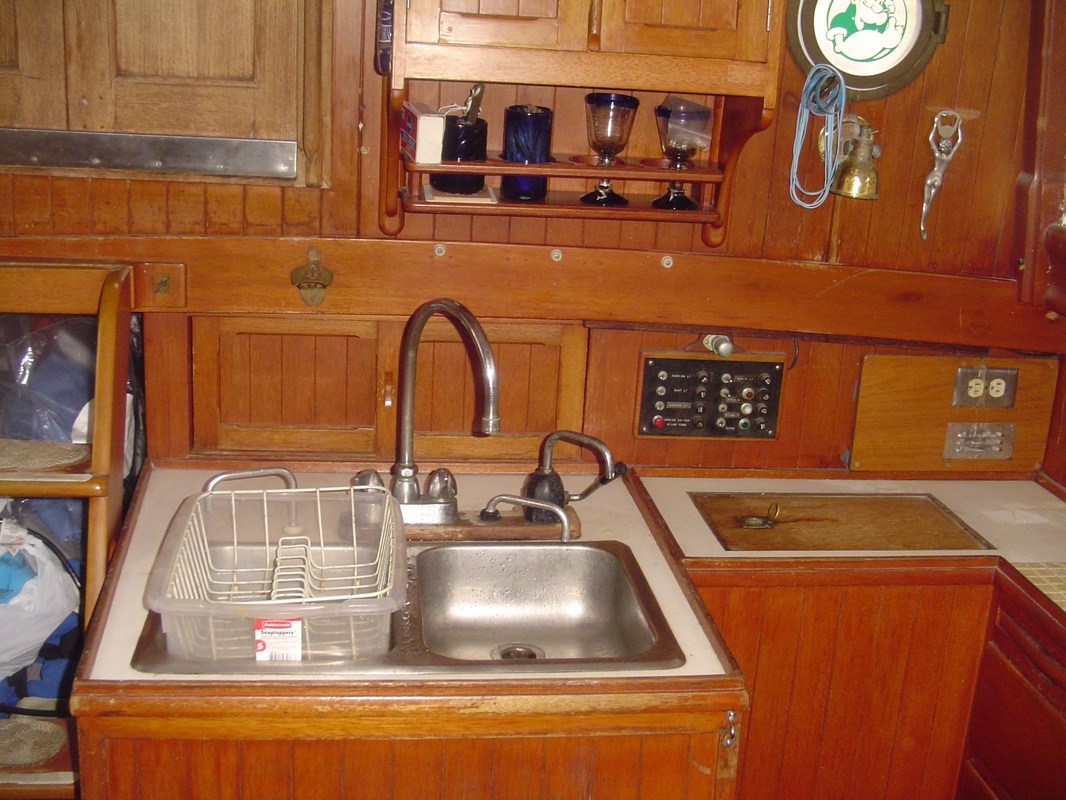
Original galley with shallow double sink, and top loading refrigerator.
|
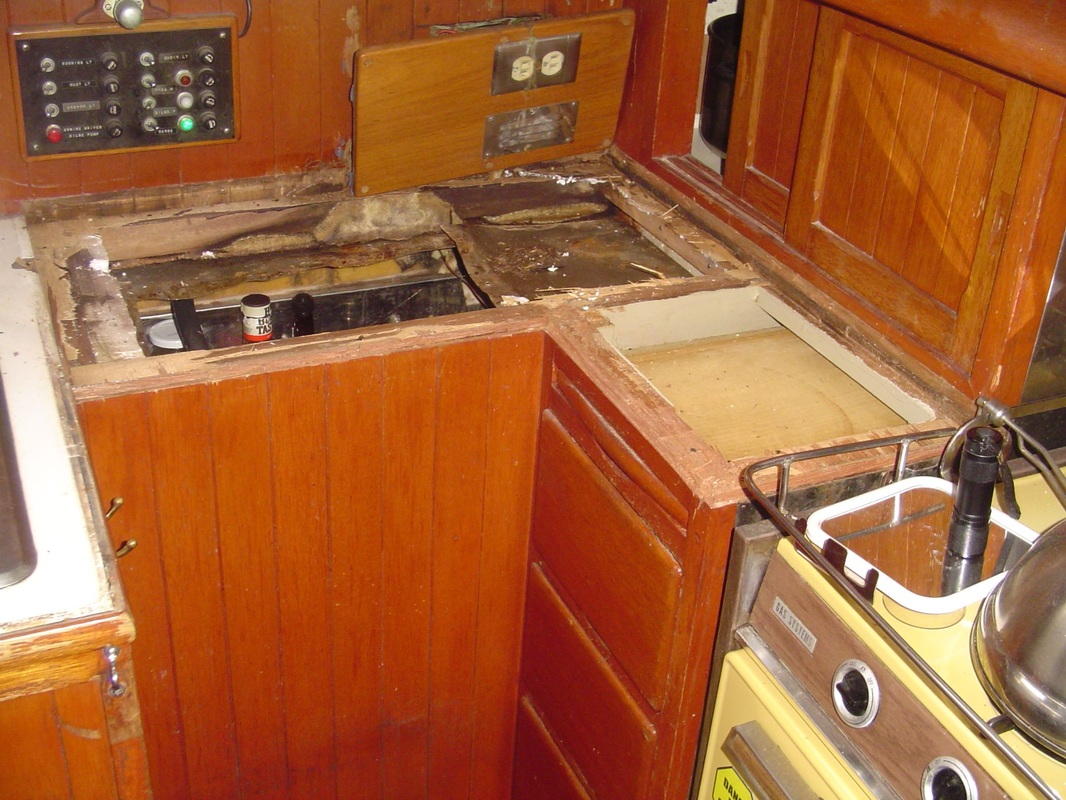
Old counter tops removed, showing decaying wood and foam.
|
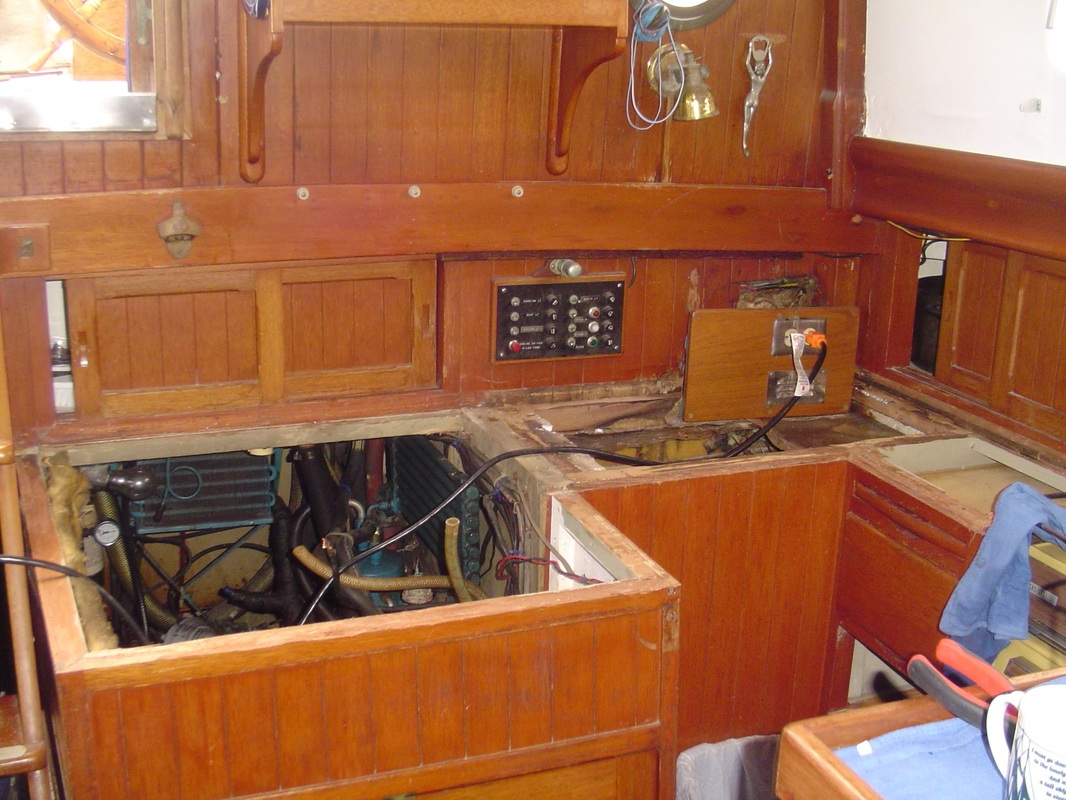
Sink removed, revealing engine, and assorted paths of wires and hardware.
|
Gabrielle, excavating the refrigerator, just before discovering the entrance to the pharoh's tomb.
|
Designing the rebuild
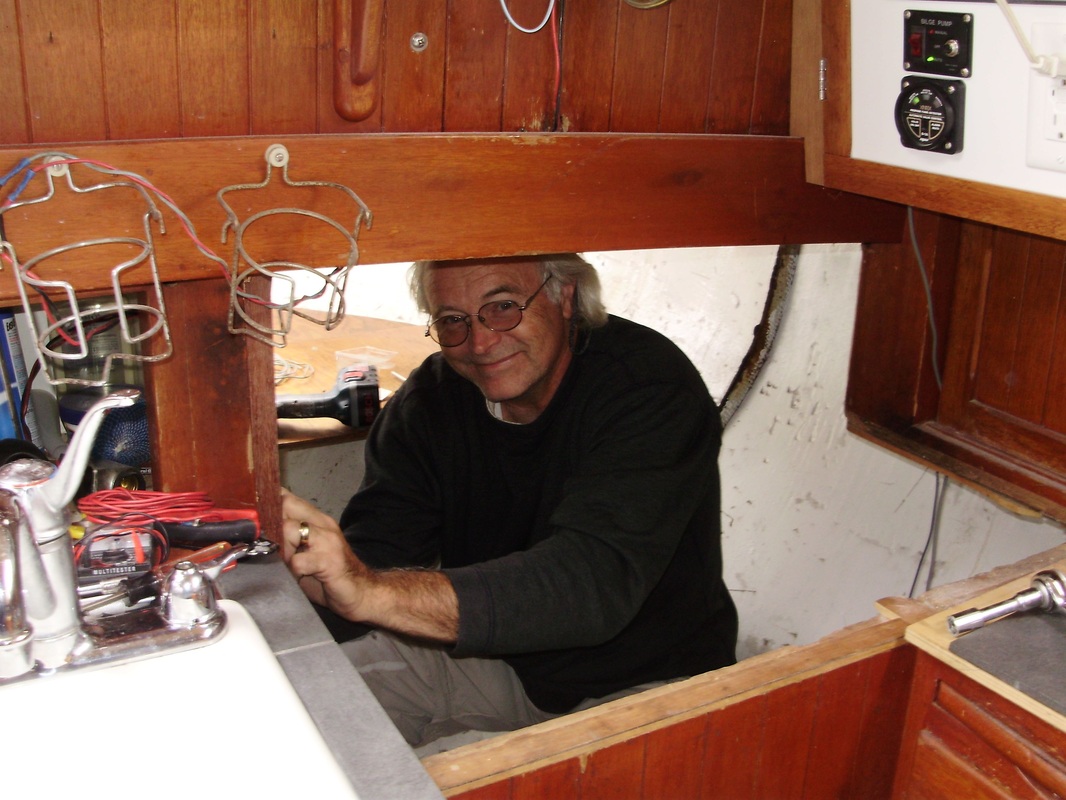
When we discovered just how much space was available under the counter, we decided to utilize the area for storage, rather than replace the refrigerator there. The wiring for the boat had also been ensconced in the insulation foam, so most of it was corroded and needed replacing as well.
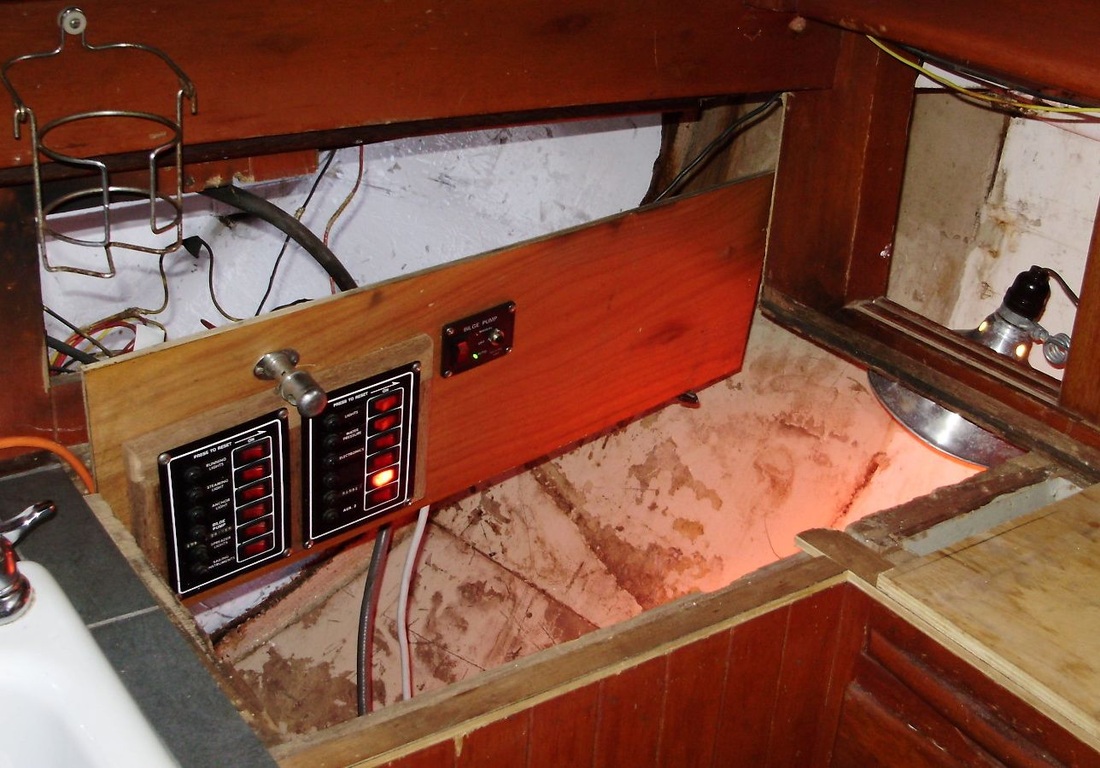
With the space opened in back, it was easy to access the electrical panel and corroded wiring. We also opted to update the panel itself to breaker switched rather than fuses.
|
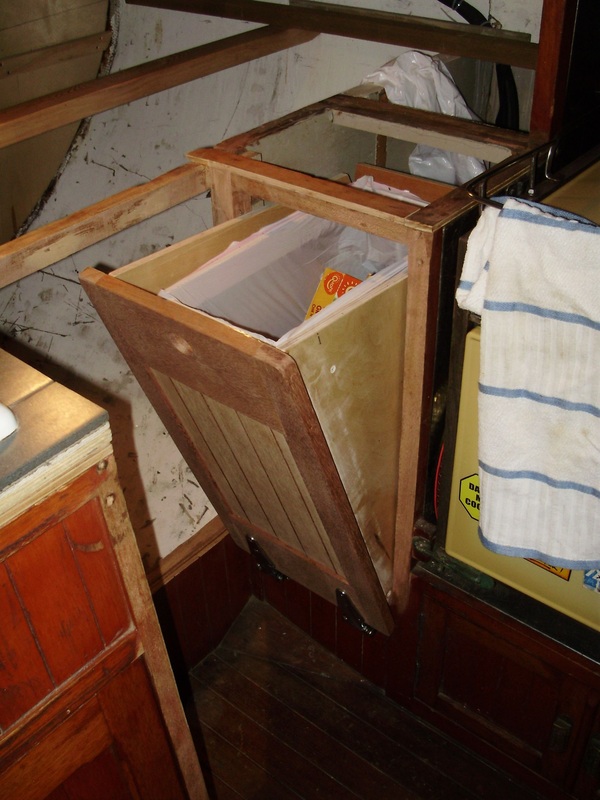
A fold-out trash bin was added.
|
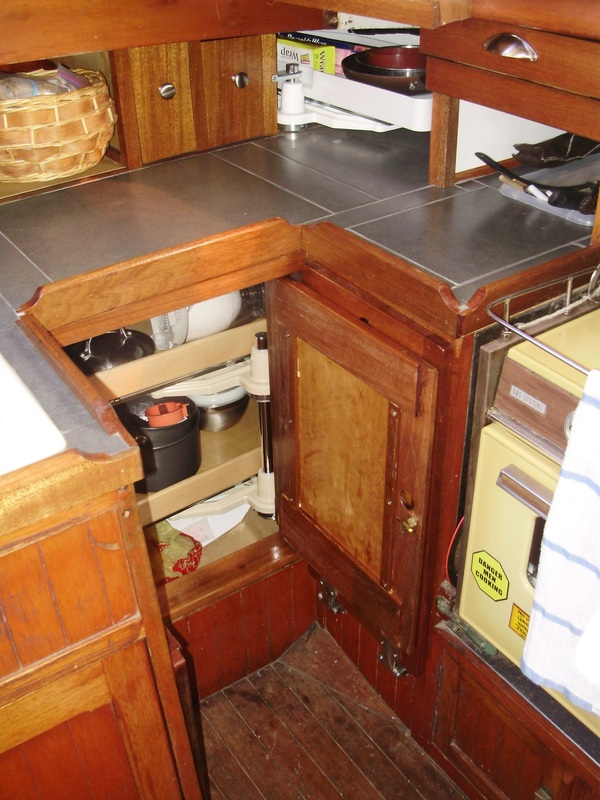
Italian tile (very sturdy) replaced formica on the counter space,
|
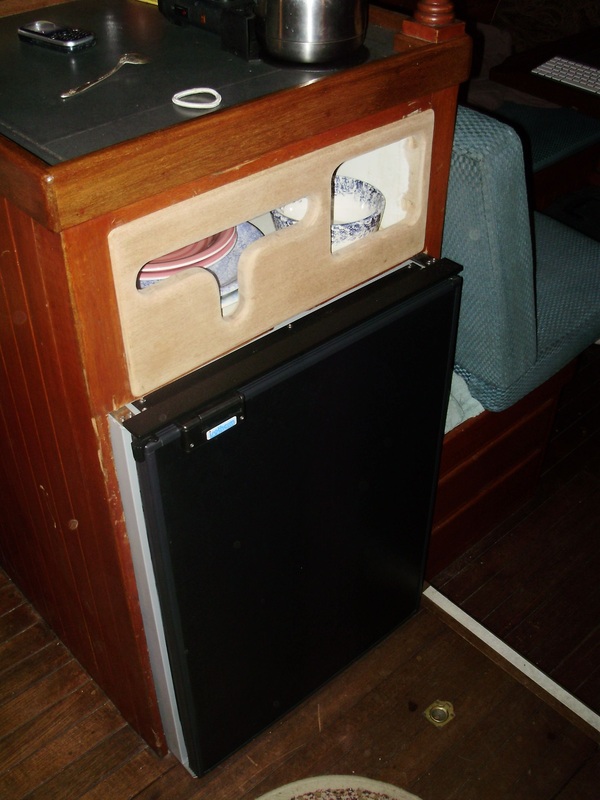
And a refrigeration unit was installed amidships.
|
Galley space rediscovered
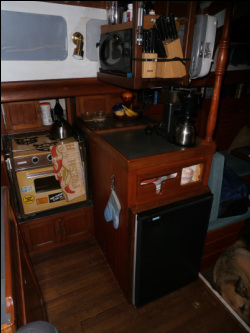
Gabrielle liked the original stove, it works well, and there was no problem with rot around it, so we left well enough alone, there. A storage rack was built above the main counter between galley and saloon, and holds an assortment of kitchen utensils and a microwave. More Italian tile was installed with new fiddles built around it, and a sliding door replaced the lift-off lid to access the 'pantry.'
There are better times than others to choose a project,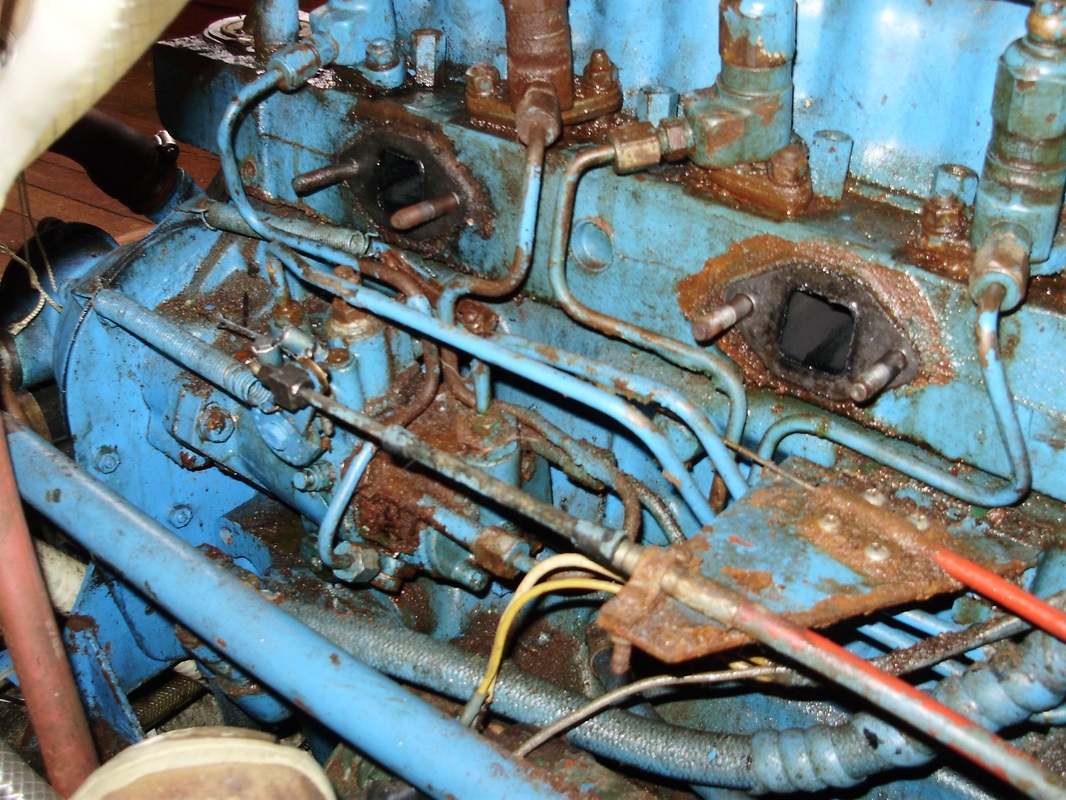 Before:
Once the ice box was removed, we noticed a lot of corrosion around the engine. Also, the engine had been overheating with normal use, so it seemed like a good time to check out the heat exchanger, too. All the parts were removed and cleaned, corrosion was sanded off, and fresh coats of primer and Perkins Blue paint was applied, & the old workhorse looked fresh & new
|
And accessibility is always a factor...
With the sink & counter removed, the engine was fully accessible.
We replaced hoses & belts, ran muriatic acid through the heat exchanger and cleaned a horde of old seashells and grit from the copper tubing. Now the Perkins 107 never seems to overheat. |
Finally, it went back together again... (whew)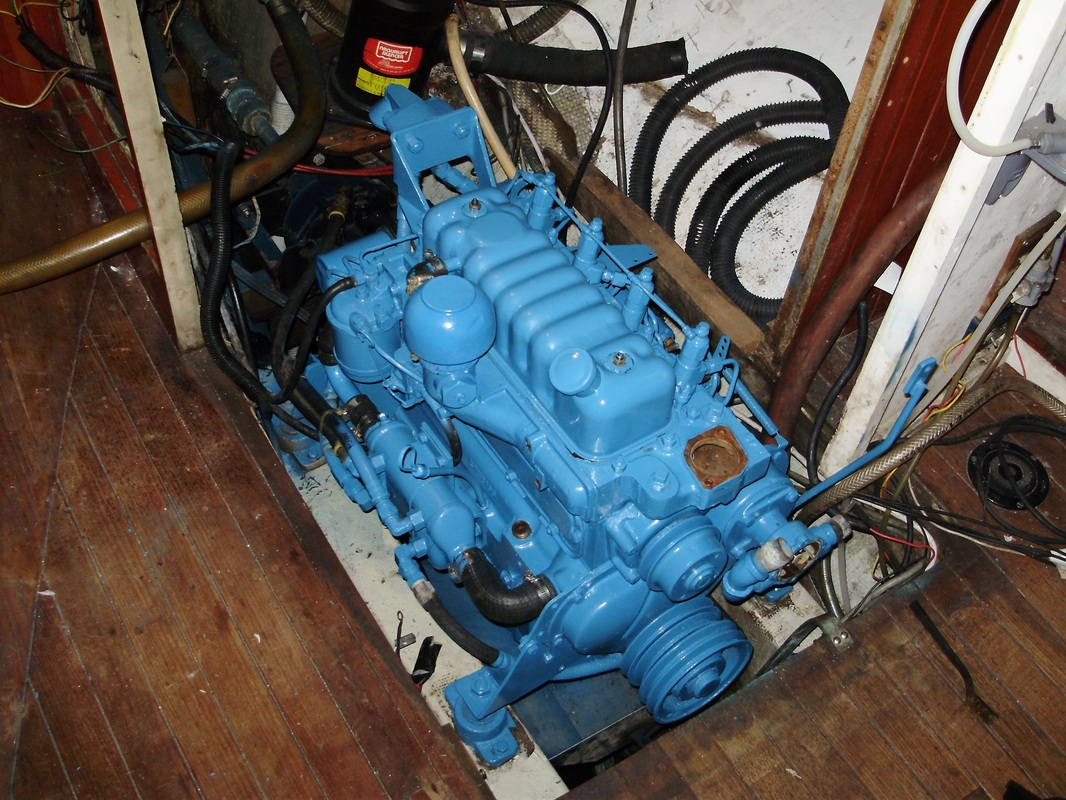 After:
With this gaping space open, we decided it was also a good time to replace corroded and brittle wiring, clean the bilge, & reinforce a sagging deck beam. Here's the engine, heat exchanger reinstalled, fresh paint, & rarin' to go!
|
Galley reassembled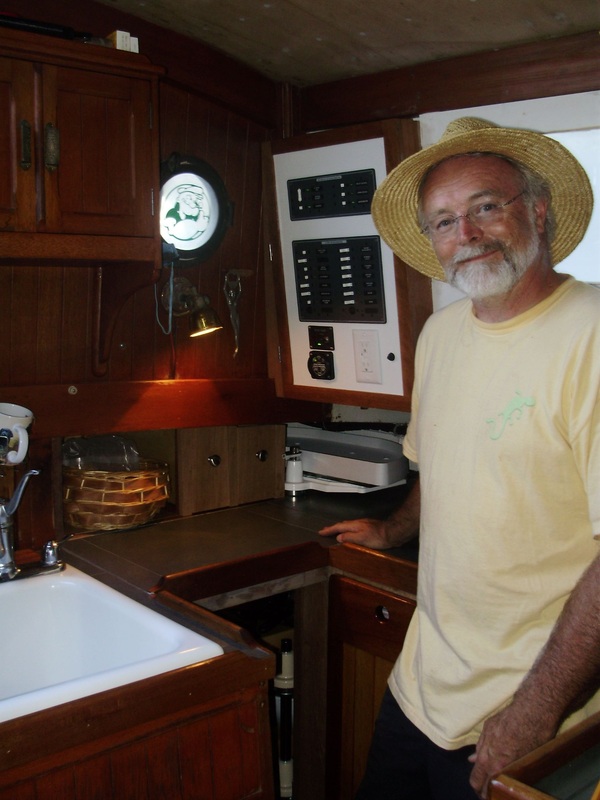
It makes for a tiny connoisseur kitchen!
If only it hadn't meant taking it apart again later!! |
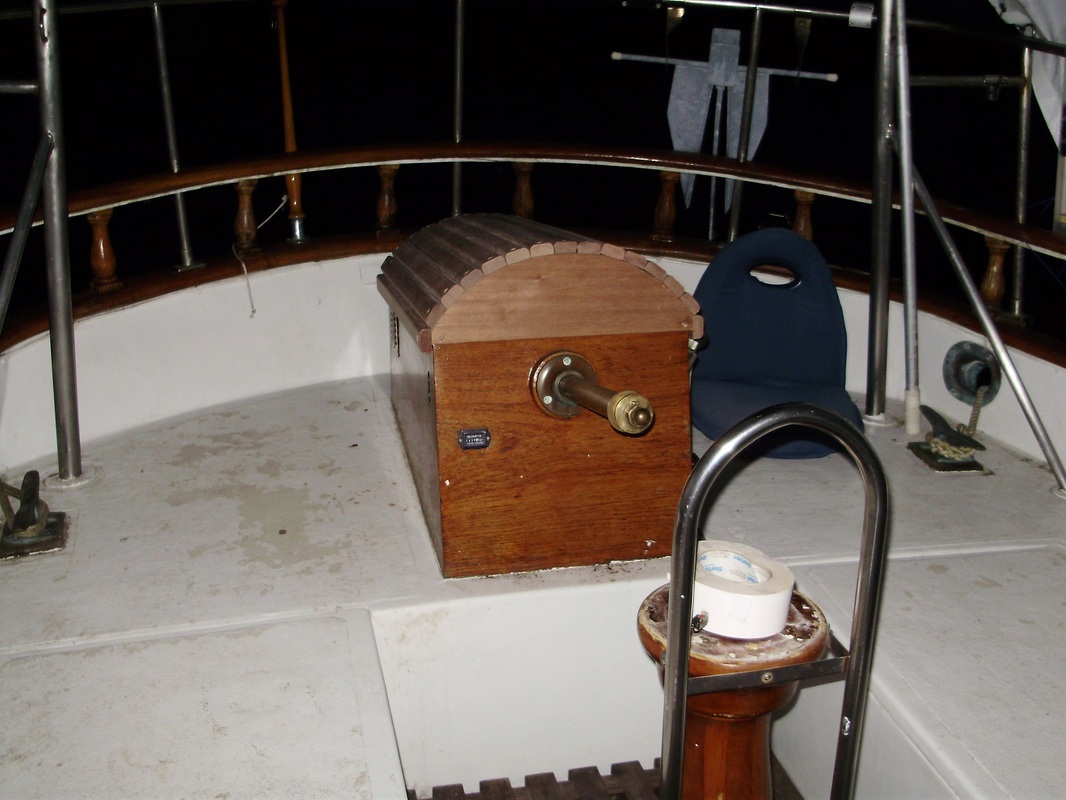
We decided to update the cockpit, as well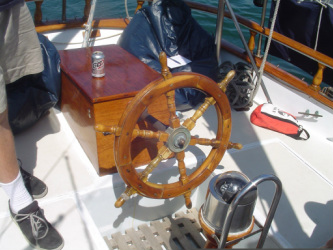
Before: A simple box seat for the worm-gear steering, and a compass on a pedestal.
|
To a more comfortable helm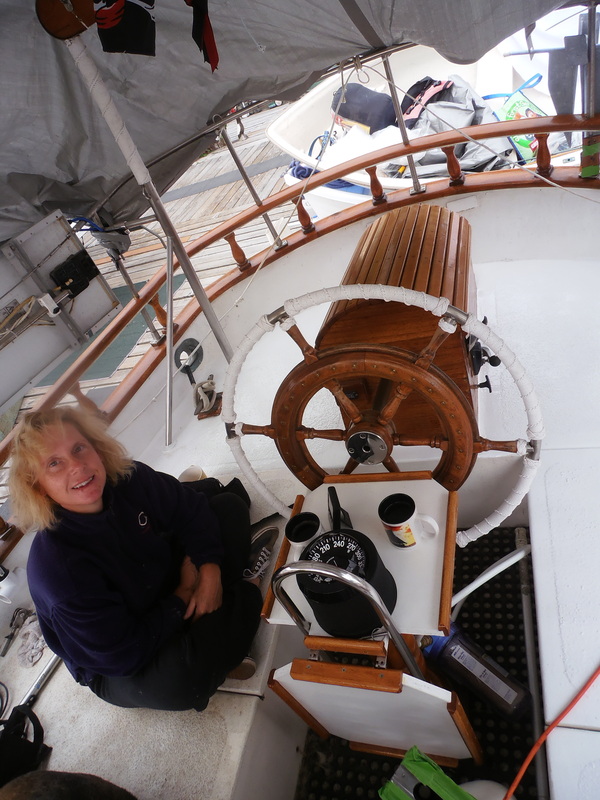
After: A new wheel, fresh paint, and a place to entertain!
|
We built an 'arched' seat to allow for an upright helmsman in any heeled position
|
Mounted atop the original seat, it also gives Gabrielle better visibility over the cabin top when at the wheel.
|
A new table strategically mounted to the pedestal holds the compass - or lunch for four with the leaf raised. New covers were made for both the wheel and the pedestal table by Renee Wenzel
|
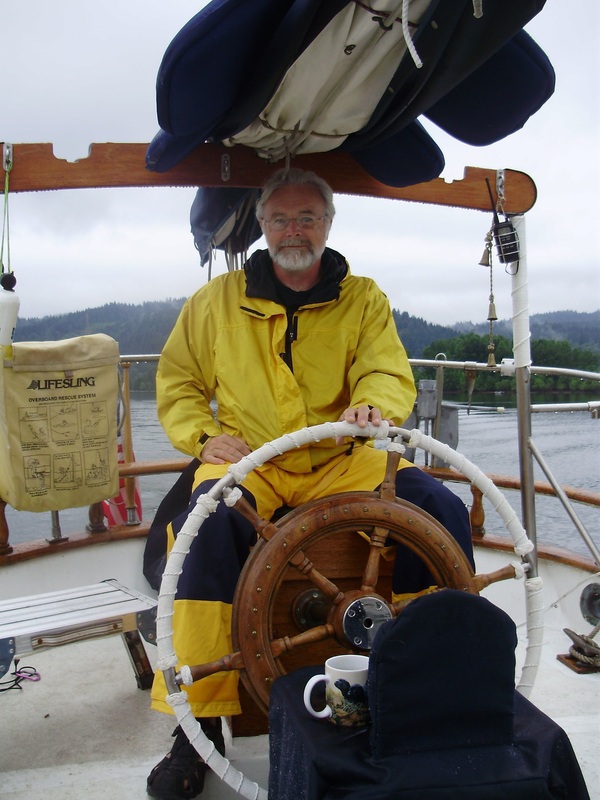
The original wheel had spots of dry rot. We replaced it with a circa 1940s wheel from a fishing boat, added a steel rim, & had it served beautifully by Wayne, a Pirate's Cove Pirate!
|
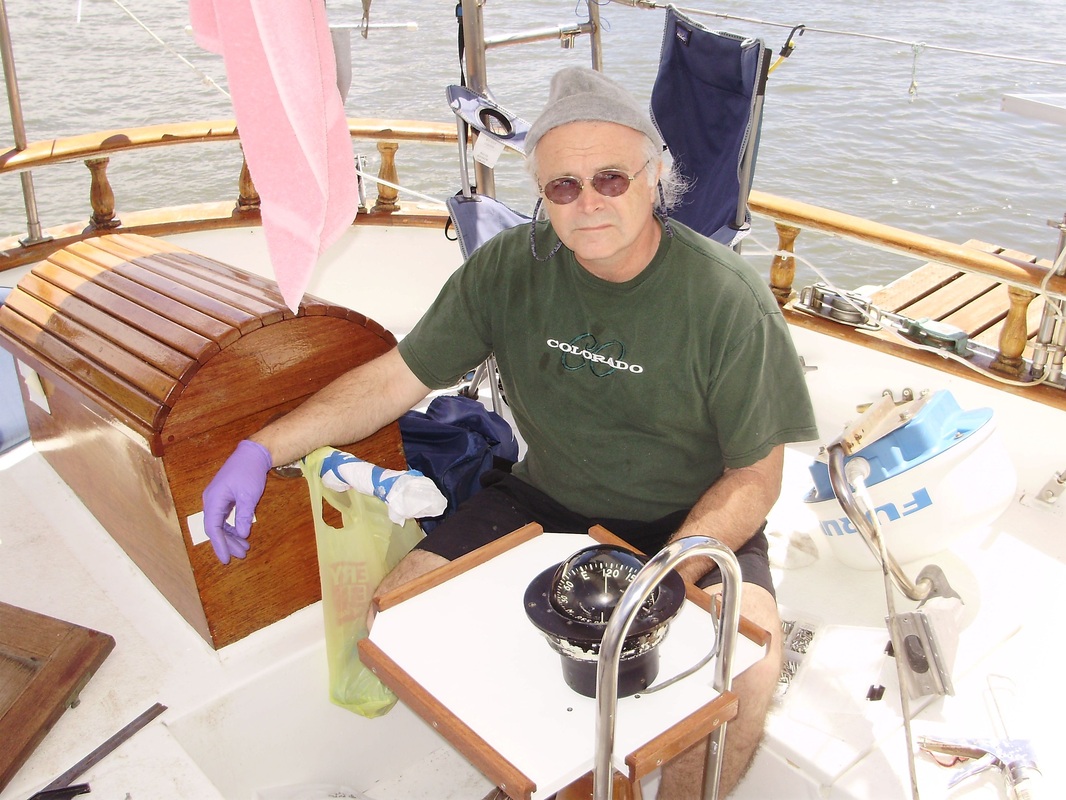
Original instrument panel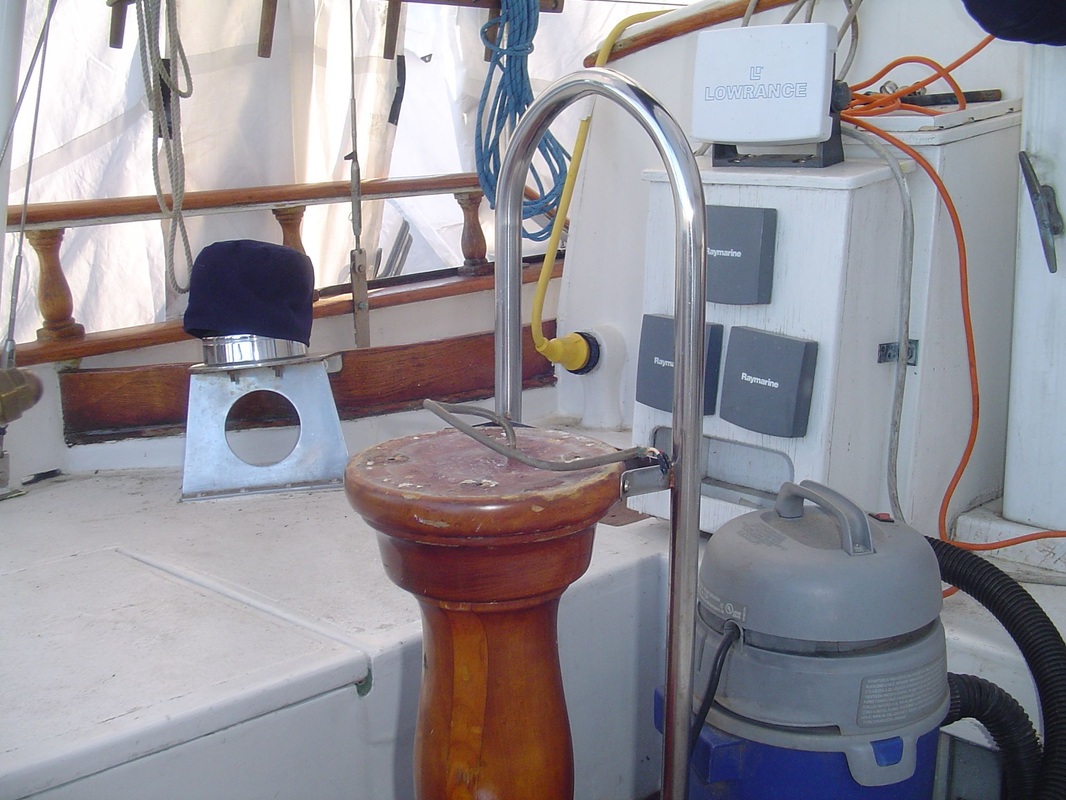
The nav instruments box and propane tank housing were worse for the wear, as was the original compass, that had leaked dry and needed replacing.
|
Old freezer lid covered and sealed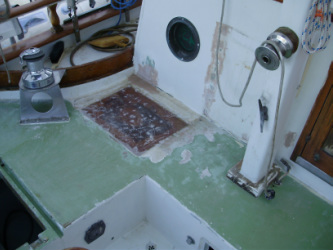
Since we were resurfacing the cockpit, it seemed a good time to remove the leaking freezer lid and make the space watertight.
|
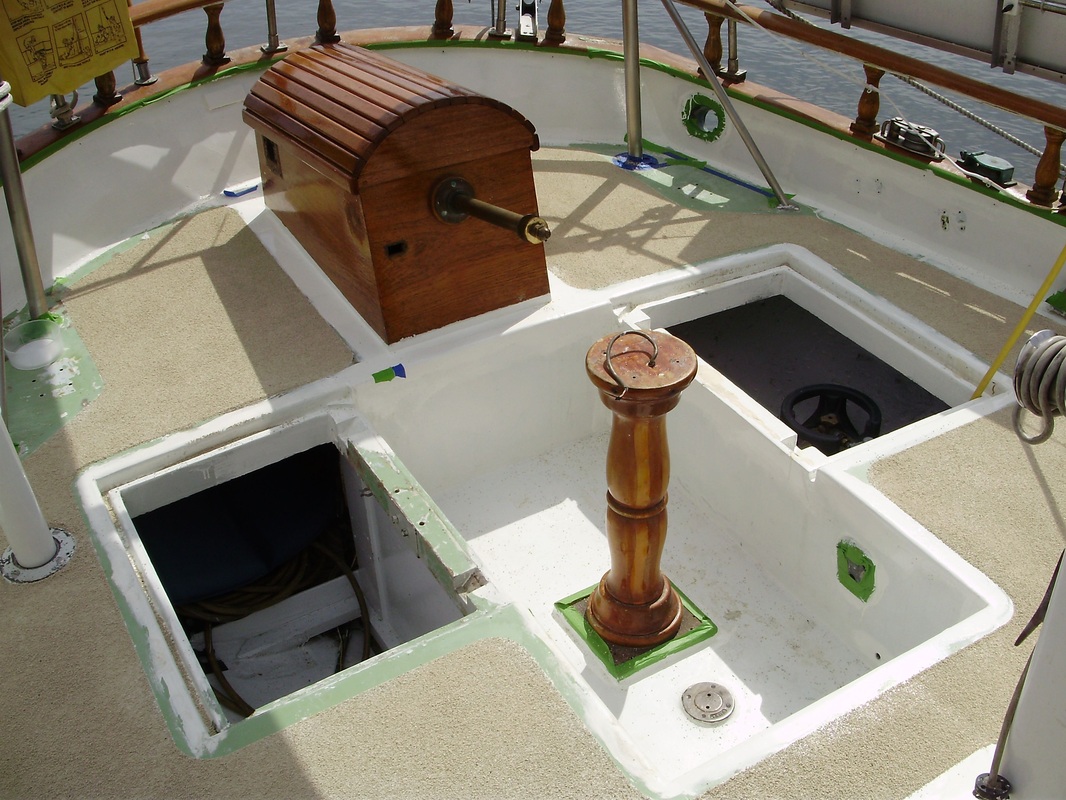
Renewing the cockpit deck
We did some research on the internet, and had decided to use a product called Sani Tred over the decks because it was a latex sealant that was used for sealing swimming pools.
The manufacturer claimed it was 'perfect' for marine use.
In 18 years of boatbuilding and restoration, it is one of the most unwieldy, unmanageable, and unforgiving products I have ever seen. It may work on pools, but should never be used on a sailboat deck!
The manufacturer claimed it was 'perfect' for marine use.
In 18 years of boatbuilding and restoration, it is one of the most unwieldy, unmanageable, and unforgiving products I have ever seen. It may work on pools, but should never be used on a sailboat deck!
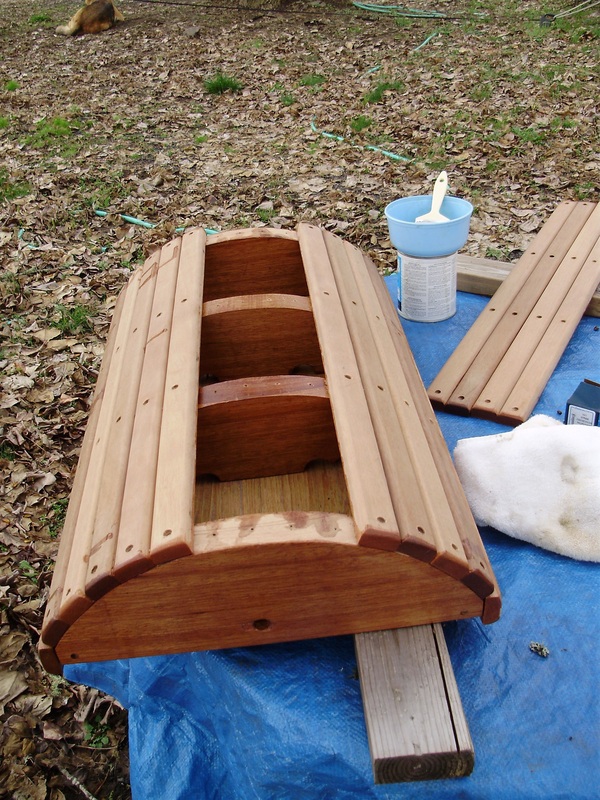
Stern Deck and Cabin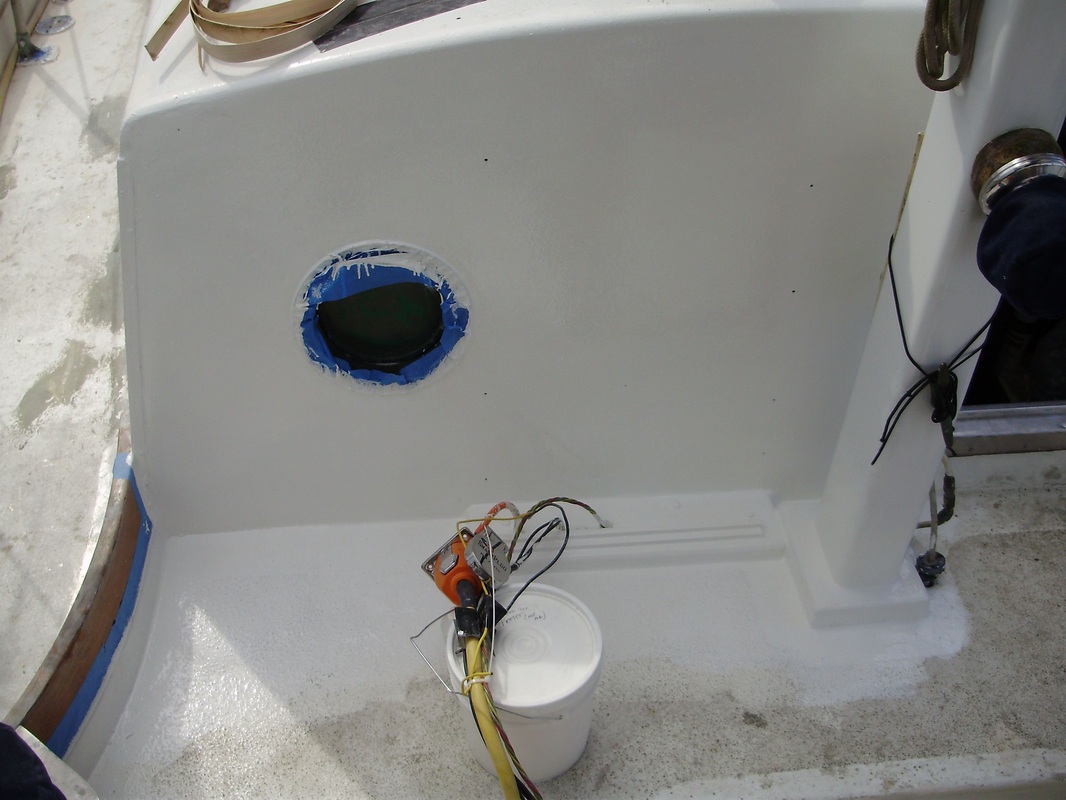
With the old boxes removed, a watertight base was built to support instrument wires coming up through the deck.
|
New Instrument Panel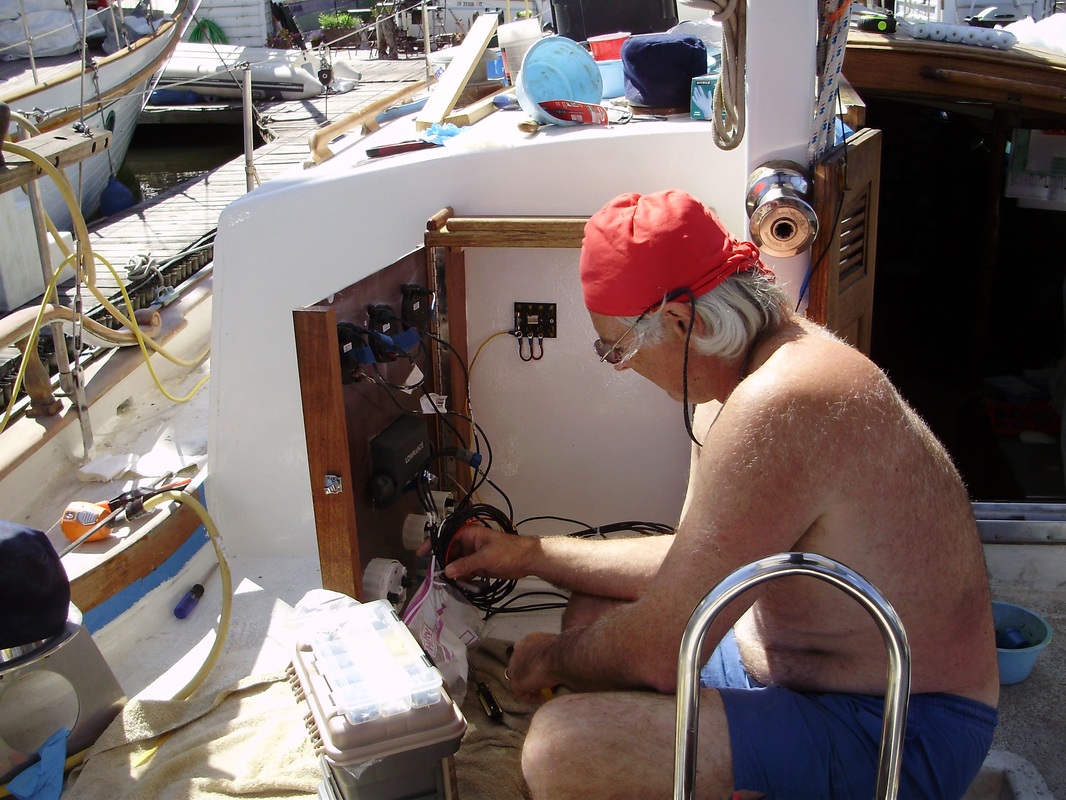
We removed the old sailing instruments and engine gauges, and installed them together in a new panel and box Michael built.
|